Growing Tomatoes: The Complete Guide

Want to grow your own tomatoes? Excellent idea, but how do you get started? All the tomato growing tips you need to know are here, humanely extracted from the brains of our expert growers to give you the best possible tomato crop without all the hard work.
Jump to:
- Which tomatoes are best?
- Growing from seed
- When to plant tomatoes
- Where to plant tomatoes
- How to plant tomatoes
- Supporting cordons
- Growing in pots
- Companion plants
- Tomato plant care
- Harvesting
- Storing
- Why homegrown tomatoes taste better
- Problem solving
Which tomatoes to grow?
Choosing your tomatoes is half the fun - there are so many different shapes and colours out there, and growing a selection makes for more colourful and appealing dishes when they’re harvested. First, decide whether you want to grow cordon or bush tomatoes.
What are cordon tomatoes?
Also called indeterminate tomatoes, these varieties have a single main stem and grow up to 2m tall, so they need a lot of support as they grow (see below) but also take up less space. They need a fair bit of pruning to remove sideshoots and keep them on the straight and narrow, but you’ll be richly rewarded for your efforts with a bumper crop. Grow cordon tomatoes if you have raised beds, borders, a greenhouse or an allotment.
What are bush tomatoes?
Bush, or determinate, tomatoes have multiple stems and don’t grow anywhere near as tall, so they don’t need as much support as cordon varieties. They also don’t need pruning, so they’re ideal if you’re growing for the first time. Bush tomatoes are a good choice for growing in pots and hanging baskets, but you can grow them anywhere.
Which tomatoes do you like to eat?
If you use a LOT of tomatoes, you might want to choose a tried and trusted heavy cropper like Moneymaker or Gardeners’ Delight. For visual appeal and more varied flavour, a heritage variety such as Chocolate Cherry or Brandywine is a good bet. Most gardeners grow several different types, depending on what they enjoy eating the most. There are four main types of tomato.
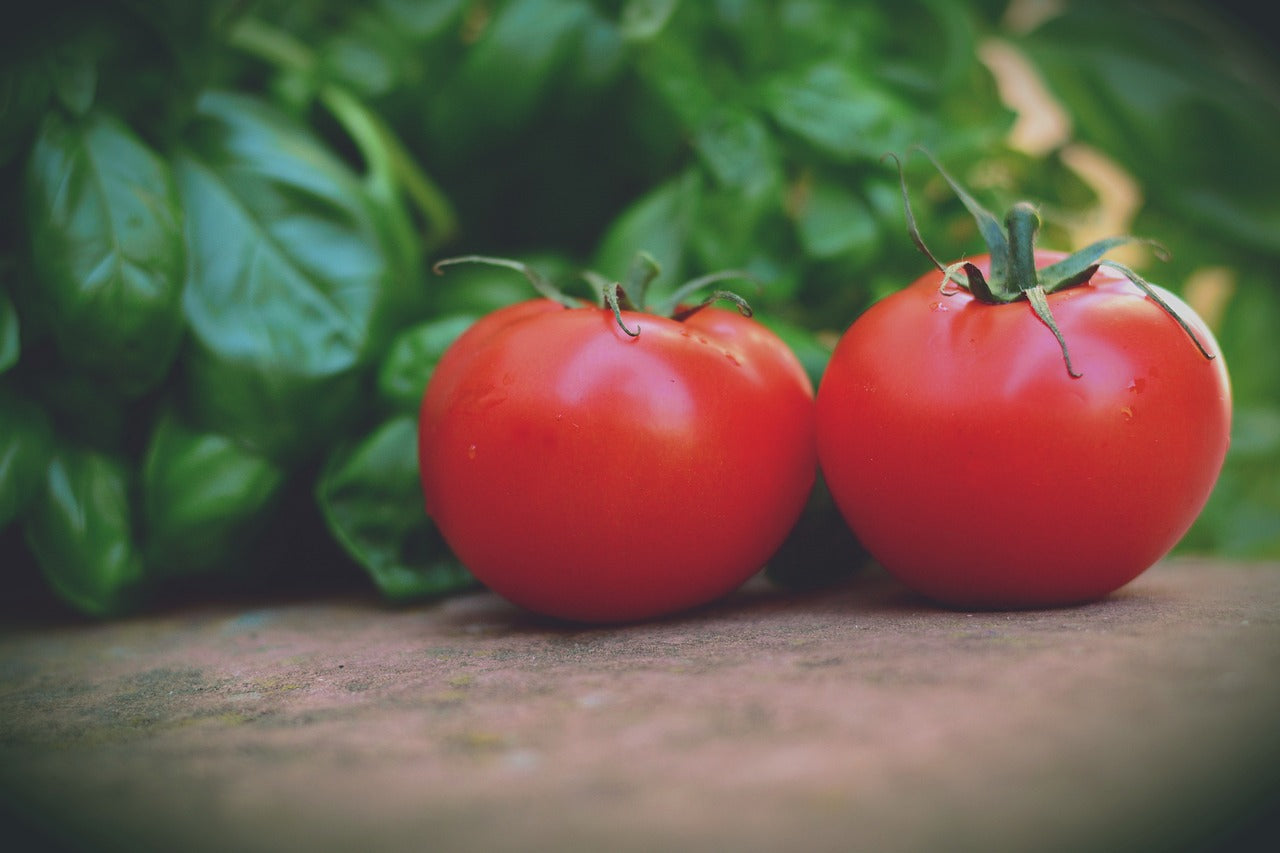
Salad tomatoes
These are the tomatoes you’ll most often find in the shops (but trust me, the homegrown version is infinitely tastier). They tend to be round and medium sized and contrary to the name, can be used for any purpose.
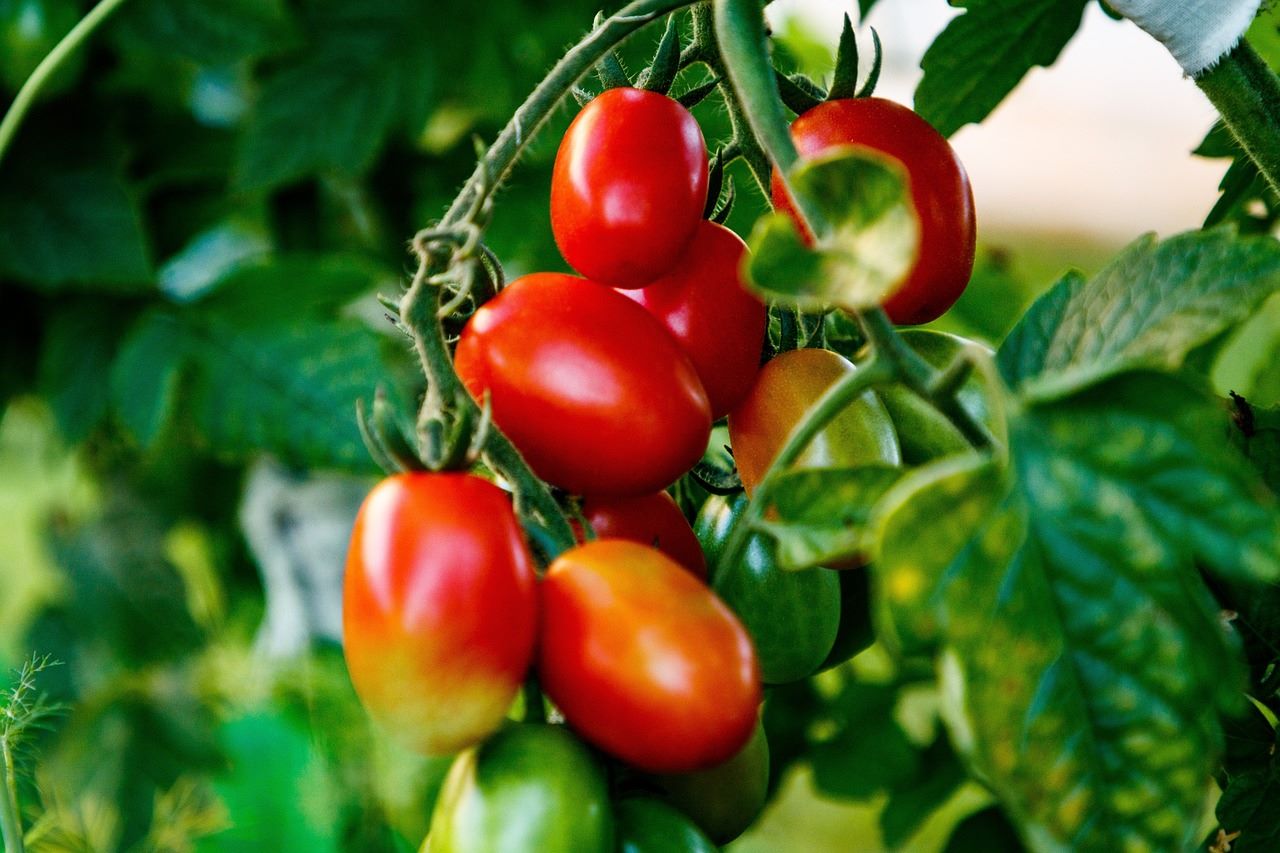
Plum tomatoes
These are what you need for those beautifully rich Italian sauces - and in fact for any cooking (including a Full English). They’re an elongated shape and usually red, in a range of sizes from cherry upwards. They’re lower on seeds than most types, making them great for sun drying too.
Beefsteak tomatoes
These tomatoes are large, heavy and seriously impressive, with a dense ‘meaty’ texture and plenty of flavour. Perfect for slicing onto burgers or layering with mozzarella and basil for a classic insalata caprese.

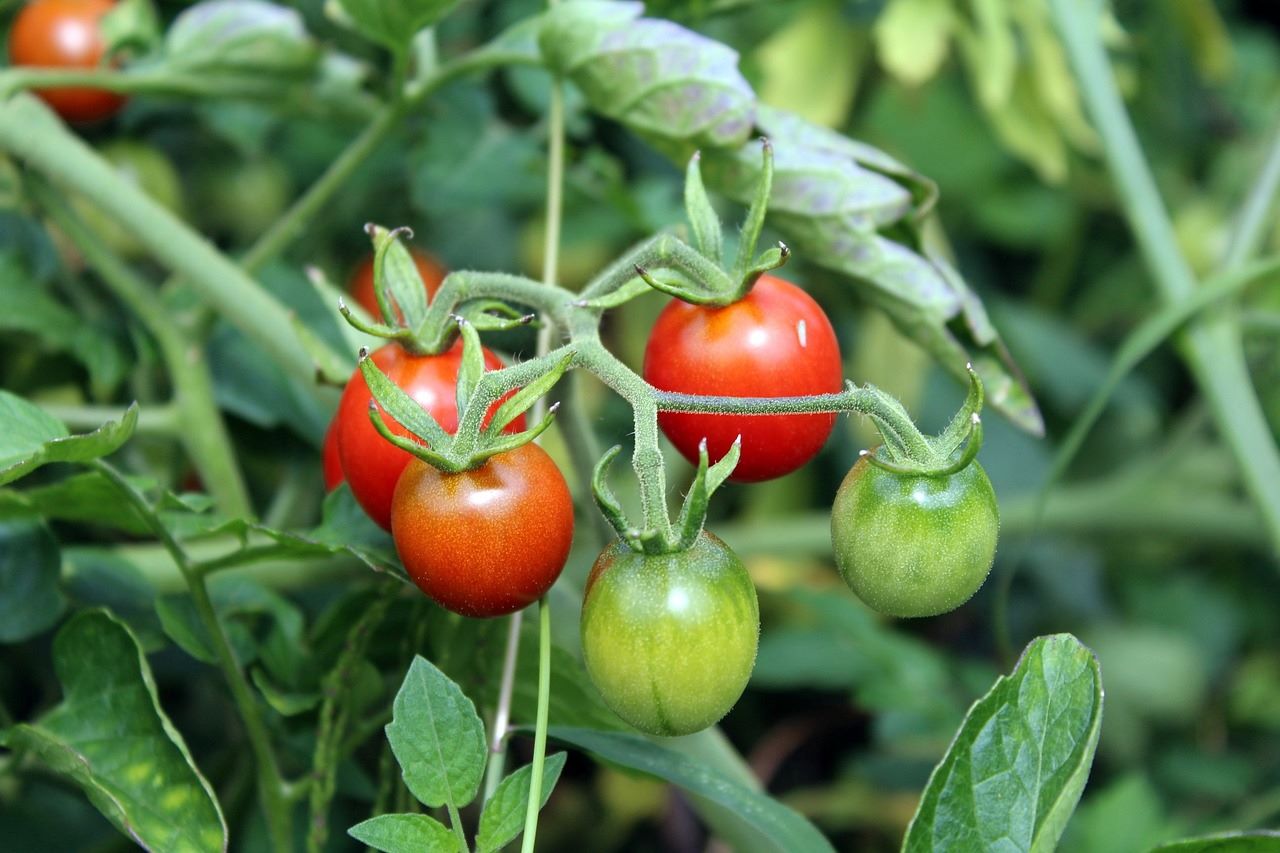
Cherry tomatoes
Little mouthfuls of loveliness, they’re ideal for kids’ lunchboxes, fantastic roasted whole and added to pasta dishes, or halved and scattered on a salad. Or just eat them straight off the vine before the kids even notice they’re ripe.
How to grow tomatoes from seed
Growing from seed is pretty easy - all you need is a warm, bright spot, good compost and a bit of patience. You can start at any point between January and April - I always sow mine in late February, but anything sown later than April won’t have enough time to grow and produce ripe fruit before the end of summer.
Sow your seeds about 3cm apart in trays or pots and cover them with a thin layer of compost.
The seeds will germinate quicker if you use a heated propagator or heat mat, but a plastic lid or bag over the pot works too. Position on a warm windowsill where they’ll get plenty of sunlight.
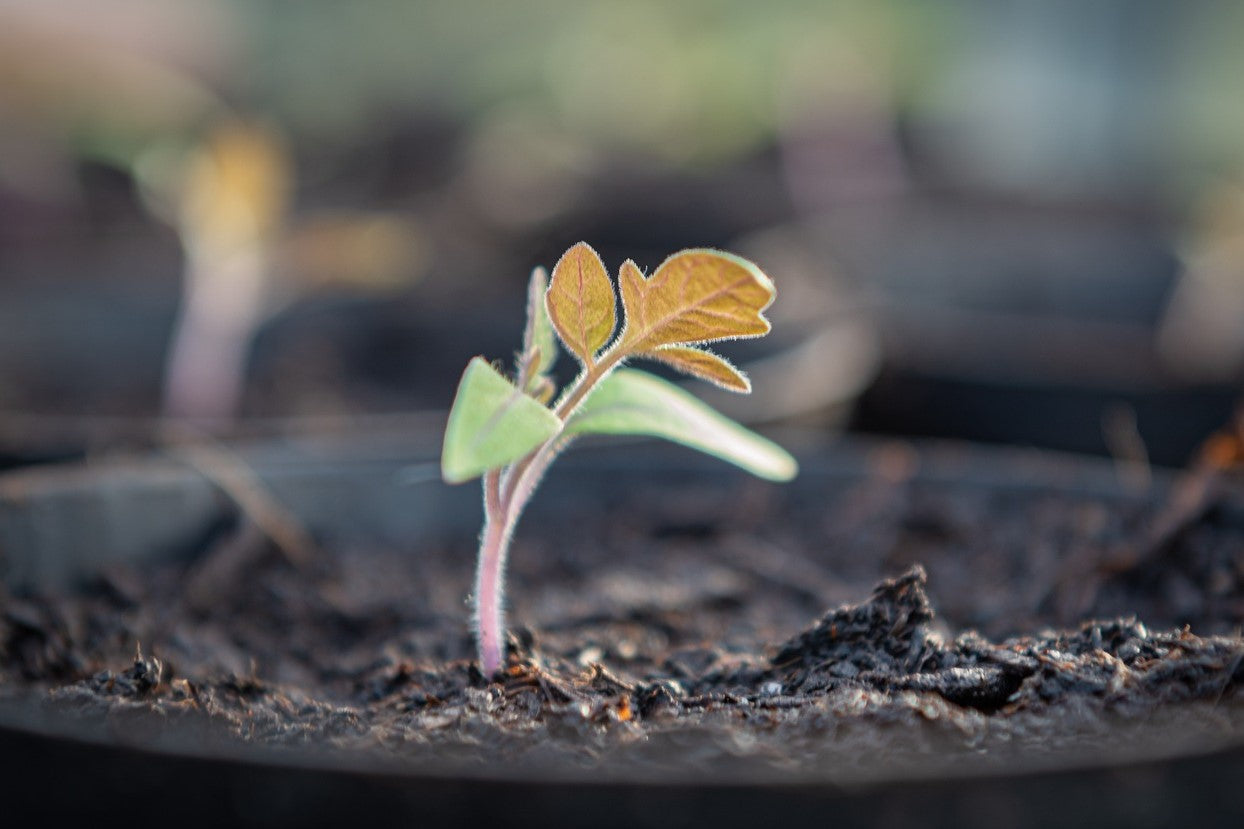
Once the seeds have sprouted, remove the cover, and pot them on when your plants are about 10cm tall and have at least two ‘true’ leaves (these will be a different shape to the two seedling leaves that grow first). Plant your tomatoes outdoors around mid-May, when the last frosts are over.
Saving tomato seed
If you want to save some cash long term, you can save seeds from this year’s tomatoes to grow again next year - although be aware that any F1 varieties won’t grow ‘true’, i.e. the same as the parent plant.
Choose a healthy tomato, half it and scoop out the seeds. Put these into a bowl or jar of water and leave it for about five days. A mould will develop, but this is normal and actually helps remove the gel coating on the seeds, which is what you want.
Pour the seeds out onto a fine mesh sieve and rinse them thoroughly with clean water. Then arrange them on a paper towel or kitchen roll and leave them to dry.
Store your tomato seeds in a paper envelope until it’s time to plant them.
When to plant tomatoes
However tempting it is (and however overgrown your cordon tomatoes are looking!) you should wait until mid May or even June to move your tomato plants outdoors, when the last frosts have passed. If you’re growing them in a heated greenhouse of course, you can move them into their final position at any point.
Where to plant tomatoes
The perfect position for tomato plants is the sunniest and most sheltered spot in your garden, as they need around 6-8 hours of sunlight daily during the growing season for the fruits to ripen. This can be a raised bed, a border, a patio pot or grow bag. Make sure the soil is weed free and full of nutrients - mix in plenty of compost or well rotted manure before planting, and put some support in place - especially if you’re growing cordon varieties.
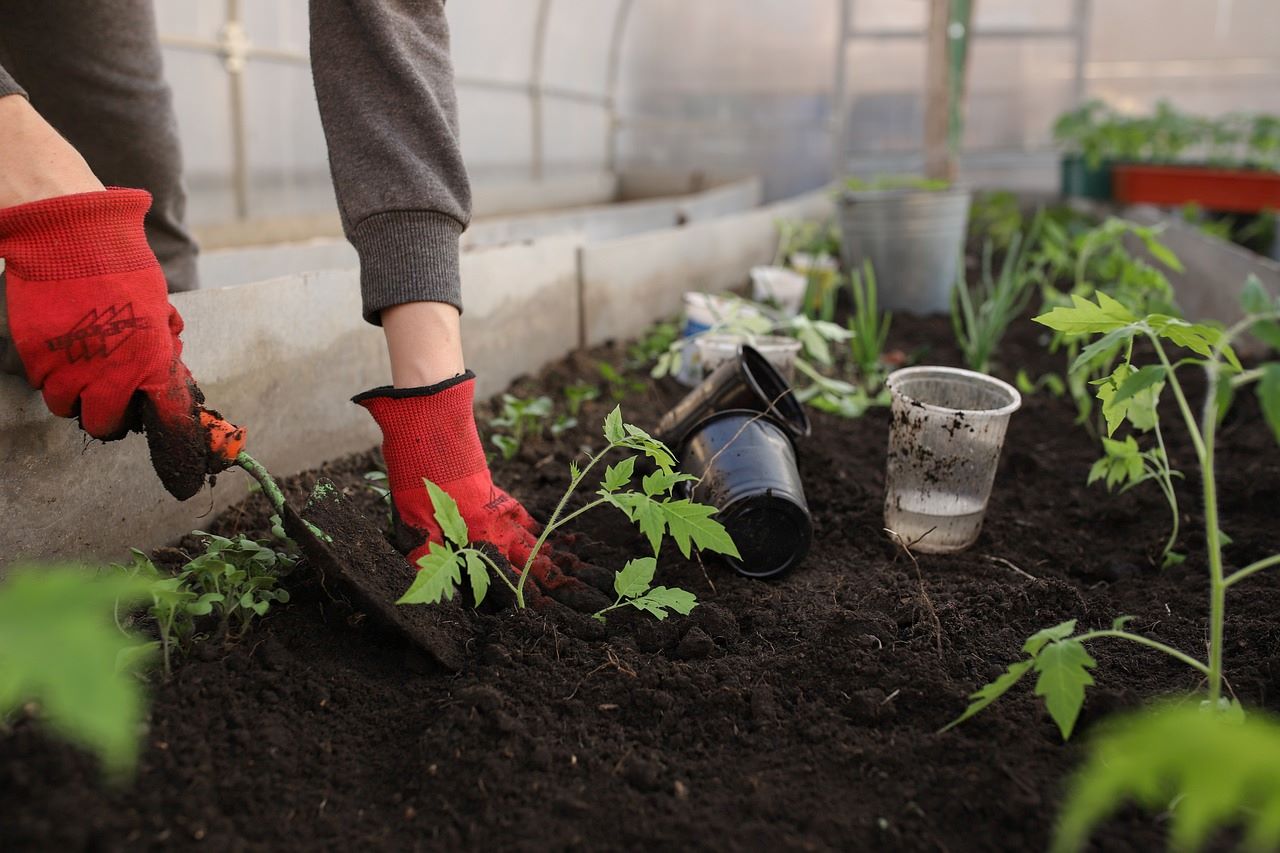
How to plant tomatoes
You can plant your tomatoes outdoors from mid May, depending on when the last frost happens in your area. The plants should be at least 10cm tall (preferably larger as slugs can attack small plants) and hardened off first by putting them outdoors for increasing periods of time during the day, then bringing them back inside at night.
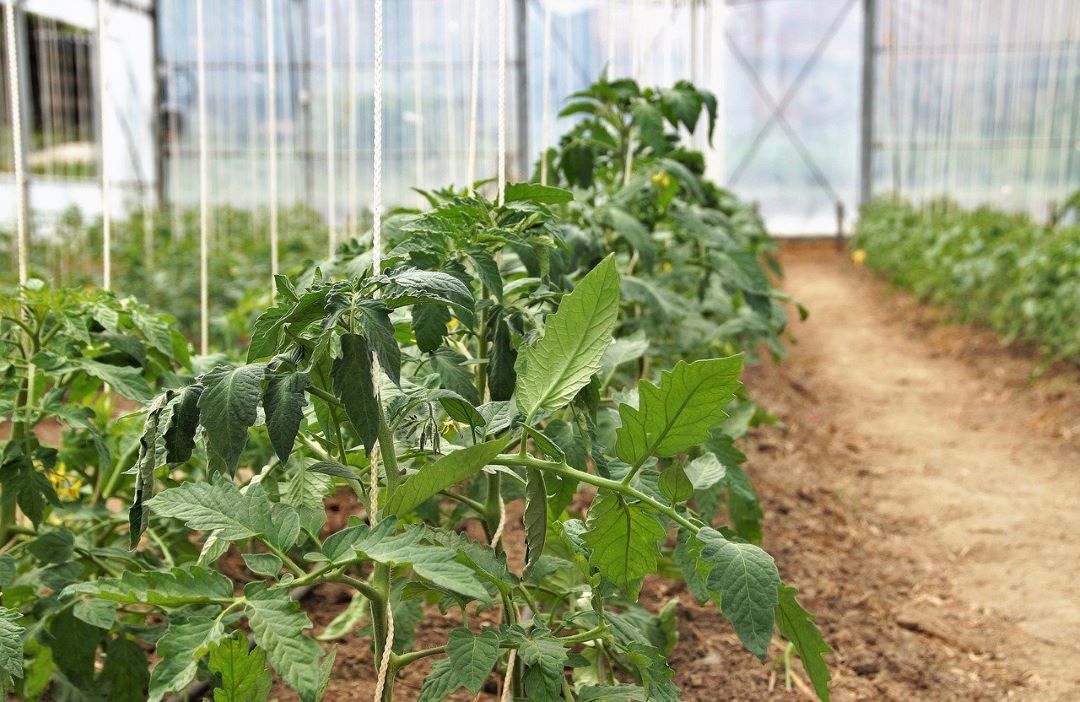
Supporting cordon tomatoes
There are lots of products out there that will help to support your tomatoes as they grow - circular cages, three sided trellises and so on - these are good, but all you really need is a bunch of strong garden canes, preferably 2m long. Simply push a cane into the ground next to your plant and tie the main stem to it firmly at intervals, using something soft like twine, pipecleaners or plant ties so as not to damage the stem.
If you’re growing in a greenhouse, you could also put hooks in the ceiling and hang strings from them, then tie your tomato stems to the strings.
How to grow tomatoes in pots
Growing tomatoes in pots means you can grow in the smallest of spaces, and move your plants into the sunniest position easily. Bush tomatoes are best for containers, as they won’t need any support, but if yours are cordons that works too (just add a tall cane). Each plant will need a 30cm pot or to be spaced 35cm apart in a planter - a hanging basket is perfect for tumbling varieties and has the added advantages of saving space on the ground and avoiding slugs and snails. The best planting medium is pot a mix of three parts compost to one part topsoil.
Fill your pot with soil, make a little hole just big enough for the roots to fit in, put your plant in the hold and backfill with soil, gently firming in around the main stem before watering.
Growing tomatoes in grow bags
A traditional grow bag is an effective and cheap way to grow a few tomato plants - and it keeps the slugs out! Just cut holes where they’re marked on the bag and add your plants. If you’re growing cordon tomatoes you’ll also need to support them with canes - or you could position your bag next to a trellis or balcony and tie them to that, making it even easier. There’s no need to feed until the flowers appear, as there’s already some fertiliser in the compost.
Companion plants for tomatoes
Companion planting is one of the best ways to deter pests from attacking your tomato plants - and as a bonus, you’ll get plenty of tasty herbs to enjoy with them. Basil, chives, garlic and dill are all strongly scented and although we find them delicious, flies and other insects will keep their distance.
Growing bee friendly flowering plants near your tomatoes will also help in the blossom stage, by attracting the insects you need to pollinate your plants.
After your tomato plants have finished, grow beans in their place - this will help to rebalance the levels of nitrogen in your soil (and also, lovely beans!).
Find out more about companion planting.
Tomato plant care: watering and feeding
Tomatoes are pretty demanding plants in terms of water and nutrients, so you’ll need to give them plenty of both in order to get a good crop.
When you first plant them in spring, you’ll need to water your plants about twice a week. If the top centimetre of the soil feels dry, that’s your cue to water.
Once the weather heats up, I tend to water daily, giving the plants a really good soaking with a hosepipe. Watering at soil level (rather than from above) is best, as water left on the foliage can lead to mildew or mould. Take care not to let the soil get too waterlogged or to dry out completely between waterings, as this can cause the fruit to split.
In terms of feeding, start off your new plants with a sprinkle of general purpose fertiliser when you plant them, to kickstart the leafy growth.
To help the fruits develop, they’ll then need plenty of potassium. You can buy special tomato feed or make your own and this should be applied every 1-2 weeks as soon as the flowers emerge.
It also helps to add lots of rich organic matter to the soil before planting, such as compost, leaf mould or well rotted manure.

How to pinch out tomatoes
It was a bit of a revelation when I discovered this one - in previous years I’d struggled to get my tomatoes to ripen before the damp weather set in, and lost a lot to mould and blight.
Last year I started to pinch out the sideshoots a few times during the season and the difference was eyebrow raising. Pinching out does three good things - firstly it helps the sunlight reach the green tomatoes instead of them being hidden amongst a forest of foliage. Secondly it helps air to circulate through the plants (preventing those moulds) and finally it helps the plant to direct all of its energy into the fruit, rather than into growing new shoots.
To pinch out, wait until the fruits have formed, then simply remove - by hand - any stems that don’t have fruiting trusses on them. You should also remove the new shoots in between the ‘v’ shape where two stems meet, to stop them growing any further.
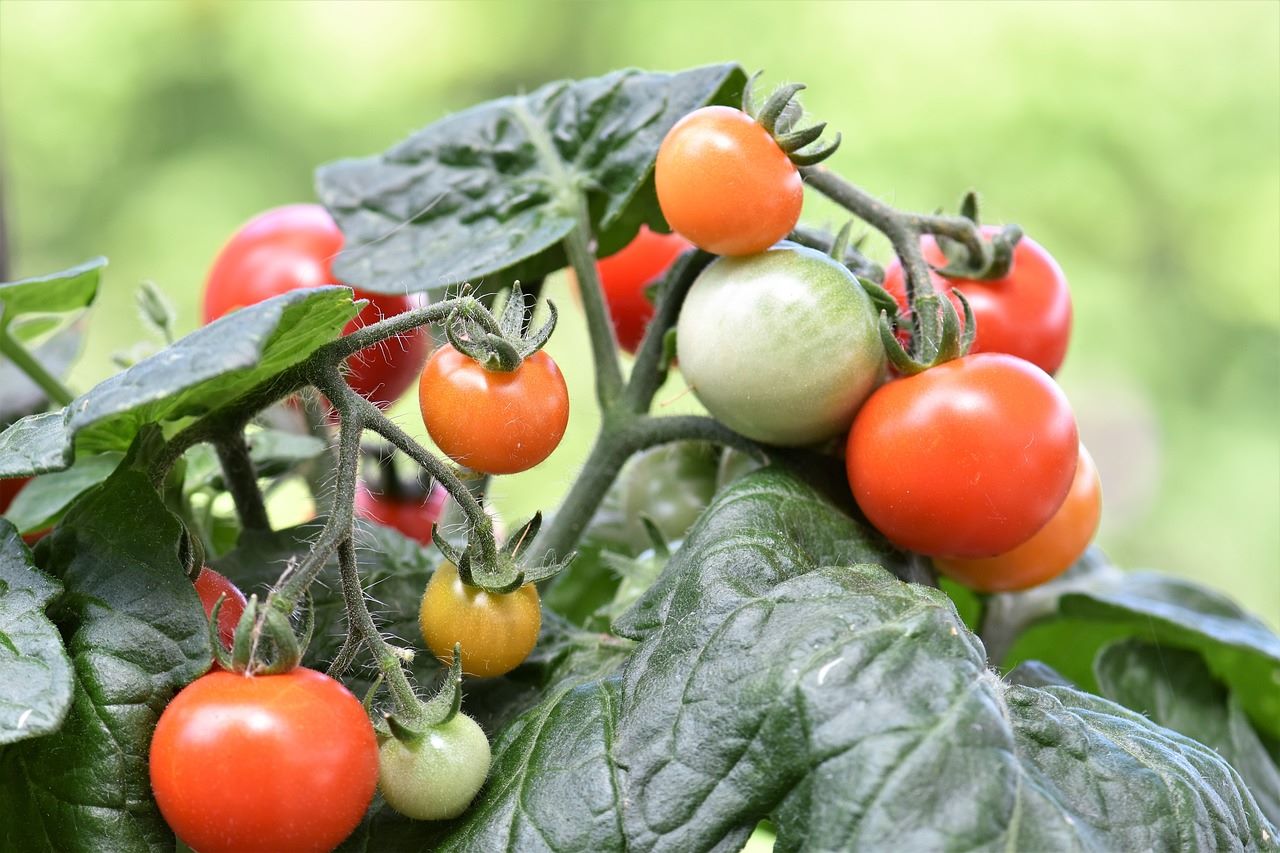
Harvesting tomatoes
Pick your tomatoes when they’re fully ripe and at their final colour, as green ones don’t usually ripen once they’re off the plant (they can still be eaten though). If you have issues with birds or slugs eating the ripe ones however, you might want to pick the tomatoes when they’re orange (or at their mid shade) as these will ripen in a bowl. Try adding a banana - the natural ethylene it gives off as it ripens will speed up the process.
Storing tomatoes
Fresh tomatoes will keep for a few days on the kitchen counter (preferable) or at least a week in the fridge. Beyond that, freezing or drying are the best options for storing your crop.
To freeze:
Chop your tomatoes and freeze straight after harvesting (or make them into a sauce and freeze that).
To dry:
- Slice your tomatoes in half and arrange them on a baking tray.
- Sprinkle on some salt and drizzle lightly with oil.
- Bake in an oven on the lowest possible heat - this takes around 8-12 hours.
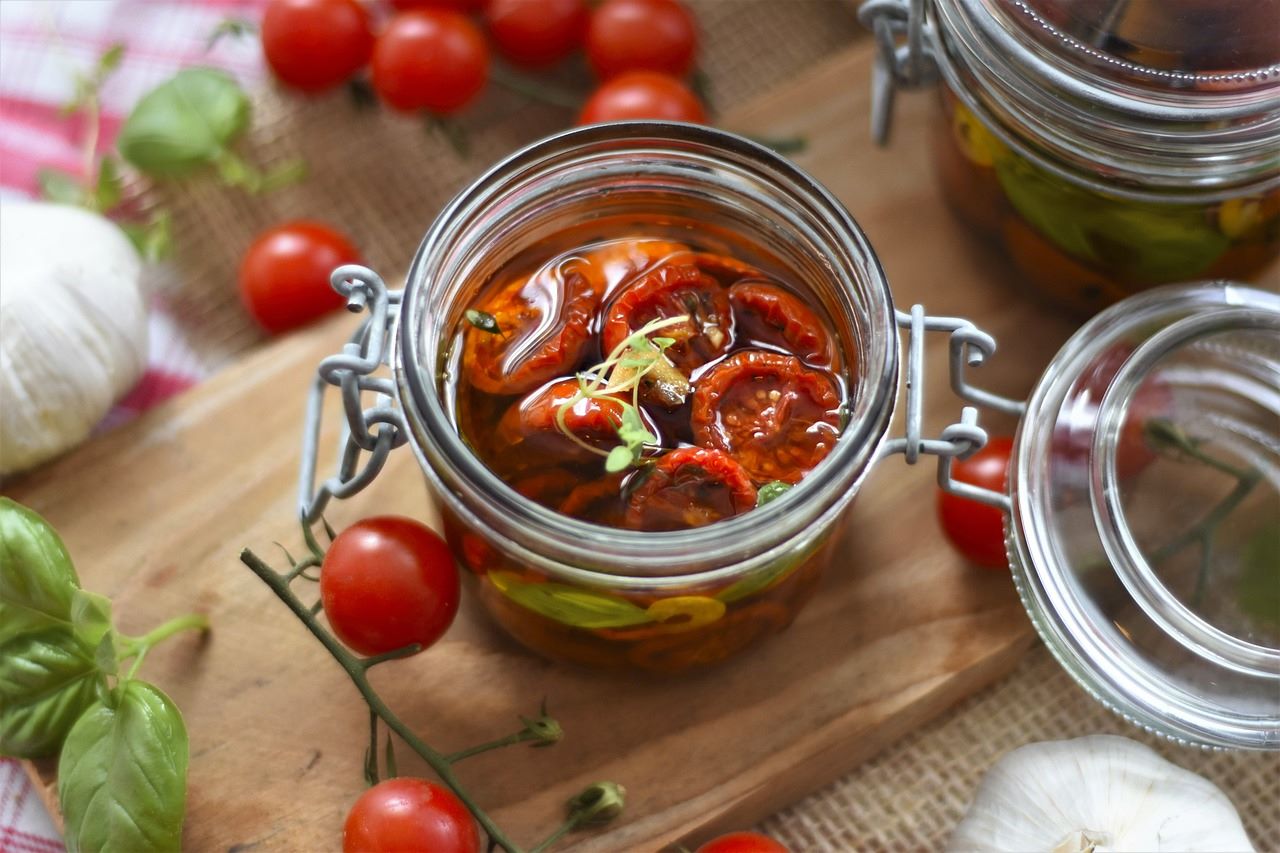
- Once dried, you should store your tomatoes in oil. Pack them into a sterilised jar (you can add herbs if you like) and cover them in heated oil. Allow it to cool down, then replace the lid. They should keep for about a year.
There’s also the chutney option if you like that sort of thing.
Why do homegrown tomatoes taste so good?
The first time you bite into a tomato you’ve grown yourself, you’ll instantly get what the seasoned allotmenteers have been banging on about - the flavour and aroma knock Proust’s madeleine into a cocked chapeau. But why are they so good compared to shop bought tomatoes? It’s all in the timing. Supermarket tomatoes are picked before they’re fully ripe, as they’ve got to be transported across the country (or continent) and kept on a shelf doing the ‘pick me’ dance for anything up to a week before you even throw them in your trolley. Your own tomatoes on the other hand? They’ve got time to ripen naturally on the vine for as long as need be, with their sugars fully developed in the sun so they’re not only fresher but much sweeter.
Tomato problems: common pests and diseases
Mould and mildew
I’m starting with this one because it’s relatively easy to prevent. Always space your plants apart well and water them at soil level to avoid water lingering on the foliage. Keeping up with pruning off the sideshoots also helps, as it helps more air to circulate between plants.
Tomato blight
I hate tomato blight. A fungal disease that rots the leaves and fruit, the first sign you see might be a tomato with a scaly brown patch on it or leaves that turn brown from the edges inwards.
If your plants get blight, a lot of people will tell you to dig them up and burn them, but that’s a bit drastic, honestly. What I do is simply bin the blighted tomatoes, cut away all the affected parts of the plant and make sure it’s not touching any others. If blighted tomatoes fall off onto the soil, remove those too.
What is a bit more serious is if you grow potatoes in that patch of soil the following year - this is an absolute no-no, as blight can destroy a potato crop before you even see the external signs.
You can help to prevent blight in much the same way as you stop mould and mildew - plenty of air and keeping the leaves dry. Watering in the morning rather than later in the day can help too, as the afternoon sun will dry out the leaves.

Whitefly
Whiteflies look like small white moths of doom and hang out on the underside of leaves. If left to their own dastardly devices they will feed on the leaves and cause them to die off.
The best way to get rid is to spray your plant down with some water, aiming it at the whiteflies to try and wash them off (a hosepipe is effective and fun).
You can also plant companion plants such as marigolds near your tomatoes. Marigolds deter whiteflies as well as attracting ladybirds and hoverflies which will come and eat the whiteflies. Circle of life, innit?
Aphids
Ah aphids - our little green archenemies. They cluster on the stems, particularly at the joints, and also on the underside of leaves, excreting a sticky residue known euphemistically as honeydew, which encourages the growth of a fungus known as sooty mould. Fiendish.
Ladybirds and hoverflies are aphid predators, so planting marigolds (which attract them) nearby will help control the green menace. Homemade sprays using vegetable oil and soapy water can also help.


Shop Tomato Plants


