

Related articles




Pruning Salvias: A Complete Guide


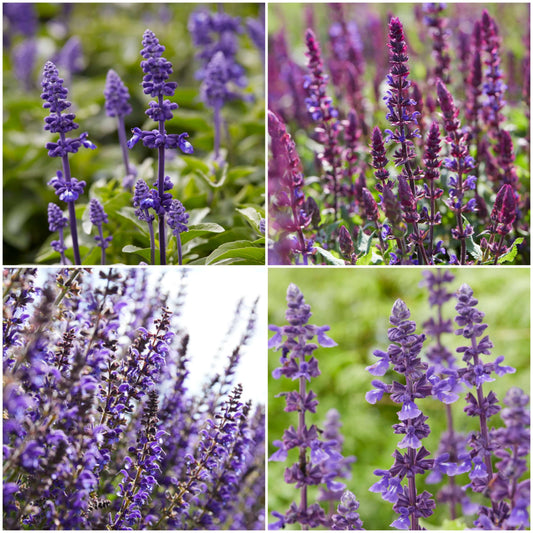
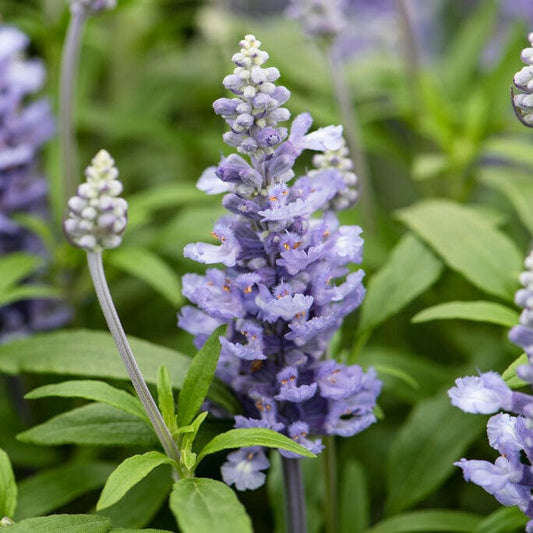
Salvias are an ever-popular (some might even say they’re perennially popular) perennial whose plumed flower racemes elevate any and every garden in which they’re found. They’re nice and easy to look after, which is just what we like to hear, but you do have to give them a little trim every now and then just to keep them looking in tip-top condition.
In this post, we’ll be walking you through everything you need to know about pruning salvias – from the 'why' right the way through to how you can use cuttings to grow more plants (completely free of charge).
Jump to:
- Why pruning salvias is needed
- When you should prune salvias
- How salvias should be pruned
- Using cuttings for propagation
Why do you need to prune salvias?
Salvia plants (often also called sage plants) need pruning for a few key reasons; firstly, pruning helps stop the plant from becoming overly woody or ‘leggy’ (which is where the plant becomes floppy or splayed).
Another reason is to improve air circulation throughout the plant which, in turn, mitigates against the risk of fungal-borne diseases (such as powdery mildews). Then, there’s pruning to encourage further flowering. ‘Deadheading’ involves removing spent flower spikes so that the plant channels its energy toward new flower growth, rather than into seed production.
Finally, arguably the most practical reason, you prune to keep the plant to its allotted space. Certain species in the salvia genus (like rosemary, Salvia rosmarinus) can grow vigorously if left unchecked, and outgrow the patch you’ve designated. Routine pruning helps keep the plant shapely and the size you want.

When do you need to prune salvias?
The best time to prune salvias each year is in July, and then again when autumn rolls around (this second prune can be carried out in the following spring if you live in a particularly cold or exposed location).
The main pruning for your herbaceous perennials takes place in July, once the salvia’s flowers have faded (this is sometimes called the Hampton hack). This will encourage new growth and additional flowers. Then, in autumn, repeat the process again (or, as we’ve mentioned, wait until spring). It's as simple as that!

How do you prune salvias?
The process of pruning salvias is nice and easy (just what we like to hear). All you need is a pair of secateurs, sterilised to reduce the risk of disease transmission, and that’s it. Make your incisions just above the basal rosette of leaves near to ground level, and discard the stems in the compost heap. No fancy techniques needed, no intricate cutting work, just clean horizontal cuts. If only all plants were this straightforward, hey?

Using cuttings for salvia propagation
Now, who wants free flowers? Simmer down, simmer down, there’s enough for everyone to go around. Propagating new plants using cuttings is an easy (and incredibly rewarding) way to get new plants without having to fork out any cash. You can, of course, always get brand new different varieties, though we wouldn’t possibly know where to get them *cough cough*...
But anyway, back to propagation. So, in July, when you’re about to give your salvia its first prune for the year, hold fire. Before you cut the stems near to the base, first take some smaller cuttings to use for propagation. For this, you want to cut fresher, green growth that hasn’t yet flowered. If you’ve got no option but to use a flowered stem, make sure to remove the flower so that it puts its energy into rooting.
Taking the cutting(s)
The cutting should be about 10cm long, with all but the uppermost two sets of leaves stripped. Make sure you cut at a 45-degree angle directly beneath a leaf node. Take each cutting, dab it in water and then dip it into a pot of rooting hormone so that there’s an even coating on the lower quarter or so. Fill a pot with potting or rooting compost, and place each cutting into a hole that’s already been prepared with a dibber (or an Ikea pencil if you’re in a pinch).
Place in a warm, bright spot that doesn’t receive direct sunlight. Top your pot with a humidity dome – these are both readily available online and easy to make at home with an old plastic bottle – and then leave to do its thang for a month or so, until late August, by which point they will have hopefully rooted. Transfer each cutting into its own individual pot to grow on, but place them in a cold frame or greenhouse over winter, before planting out in spring, gradually hardening them off to maximise their chances of survival outside.

Final thoughts
Pruning salvias is simple, straightforward and quick. Now you know, make sure to check out our other articles on lifting and dividing perennials, as well as our guide to long-flowering perennials you can grow here in the UK – it’s the sage thing to do...
Last updated: 24/06/2026