Related articles


Planting Climbers: A Beginner’s Guide
Your beautiful new climbing plant has just landed on your doorstep, ready and raring to grow, so what’s next? You want to plant your new arrival so it gets the best start in life and hits the heights ASAP. Luckily we have a direct line to Mollie, one of the UK’s finest growers, to show you how to start planting climbers like a pro. Here’s everything you need to know.
Jump to:
- What you’ll need
- Placement
- How to plant climbers
- Climbing plant supports
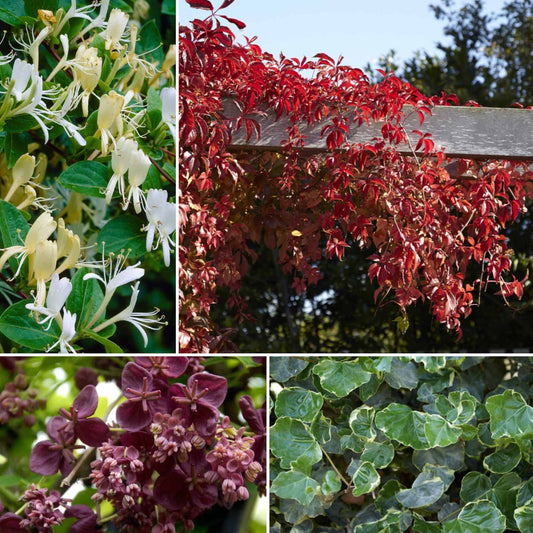
- Planting ivy
- Planting jasmine
- Planting honeysuckle
- Planting wisteria
- Planting clematis
- Planting climbing roses
What you’ll need
- Plant support
- Plant ties
- Compost
- Spade
- Water
- Plant food
- A pot (if using)
Choosing the right place to plant
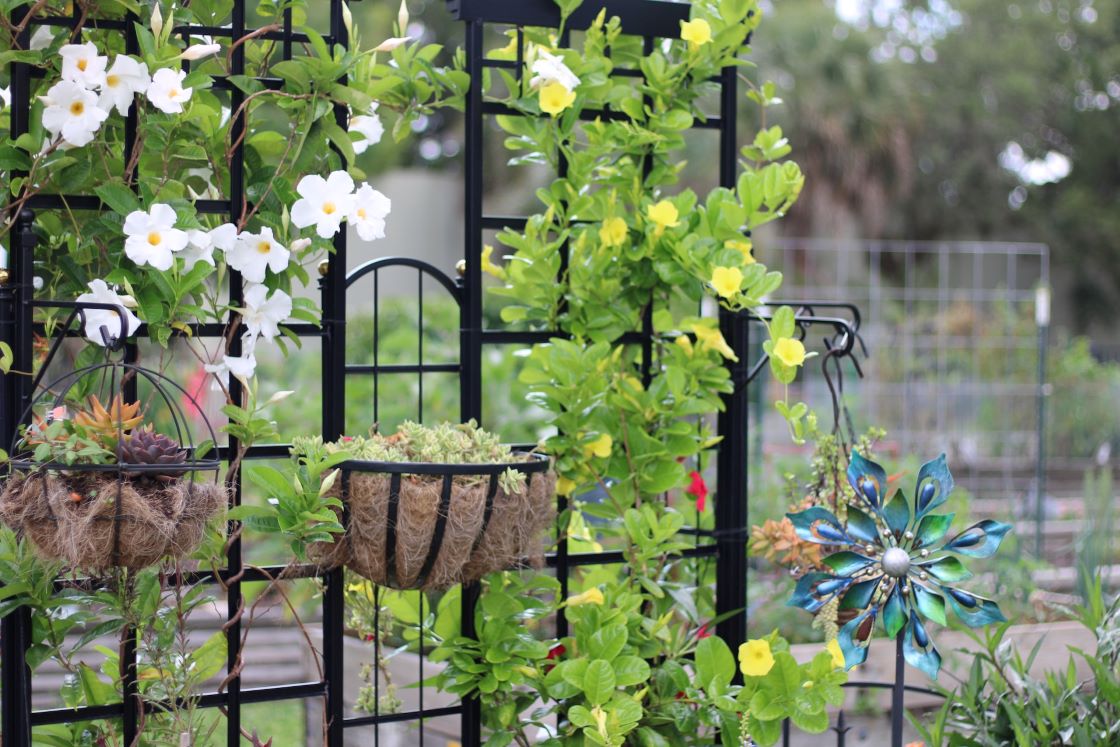
Before you take your climber out of its pot, make sure you’ve chosen the best position for it. Have some planting compost, water and most importantly, a climbing plant support in place. This can be a trellis, obelisk, pergola or wires on a fence or wall. If you’re planting in a pot, make sure it’s big enough to accommodate your growing plant at its mature size (you can check this on our website).
A wall or fence is an ideal spot for a climber, as it has built in support, but there are a few things you need to consider before planting. The soil around walls and fences is sometimes poor as the rain is prevented from reaching it fully and roots can also be restricted. To fix this, dig your planting hole 30-45cm away from the wall and mix lots of compost or well rotted manure into the planting soil.

How to plant
Take your climber out of the box carefully, holding it by the pot, and give it a water if the soil looks dry. You don’t need to remove the cane; in fact if you direct the cane towards the support you want it to grow up, it will help your plant to grow in the right direction.
When you’re ready to plant, take the climber out of its grower’s pot and gently spread out the roots if they are bound together. This helps them to spread out and get more nutrients once they’re in the soil.
Position your climber in the centre of the planting hole and backfill with the soil and compost mixture. Clematis plants do best when they’re planted about 10-15cm below soil level, whereas climbing roses should be planted with the graft union at soil level. For all other climbers, plant them with the top of the rootball at soil level. Firm your plant in well and give it some water before tying it in to the support.
Attaching your climber to the support
Your plant’s stems may have been tied together or tied to their cane to protect them during its journey to your garden - if so, you can carefully undo these. Spread the main stems out towards their supports and tie them in with soft plant ties or twine. If your climber is self clinging (like ivy), you can encourage it to reach the support by bridging the gap with canes. Once the plant is firmly fixed onto its permanent support, you can remove the cane if you wish.
Here are some more tips to help you get the best from your climber, whatever the species.
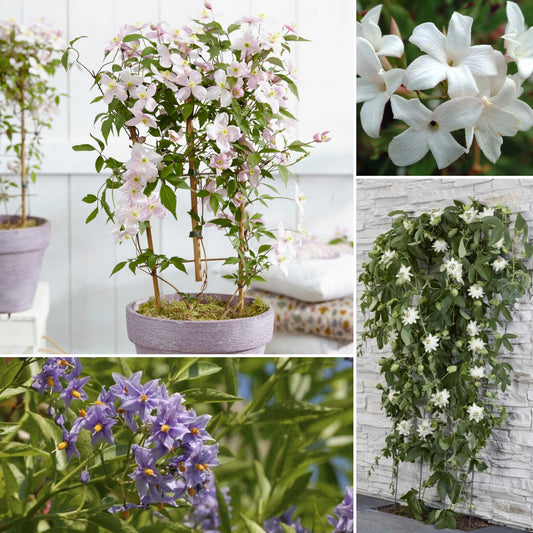
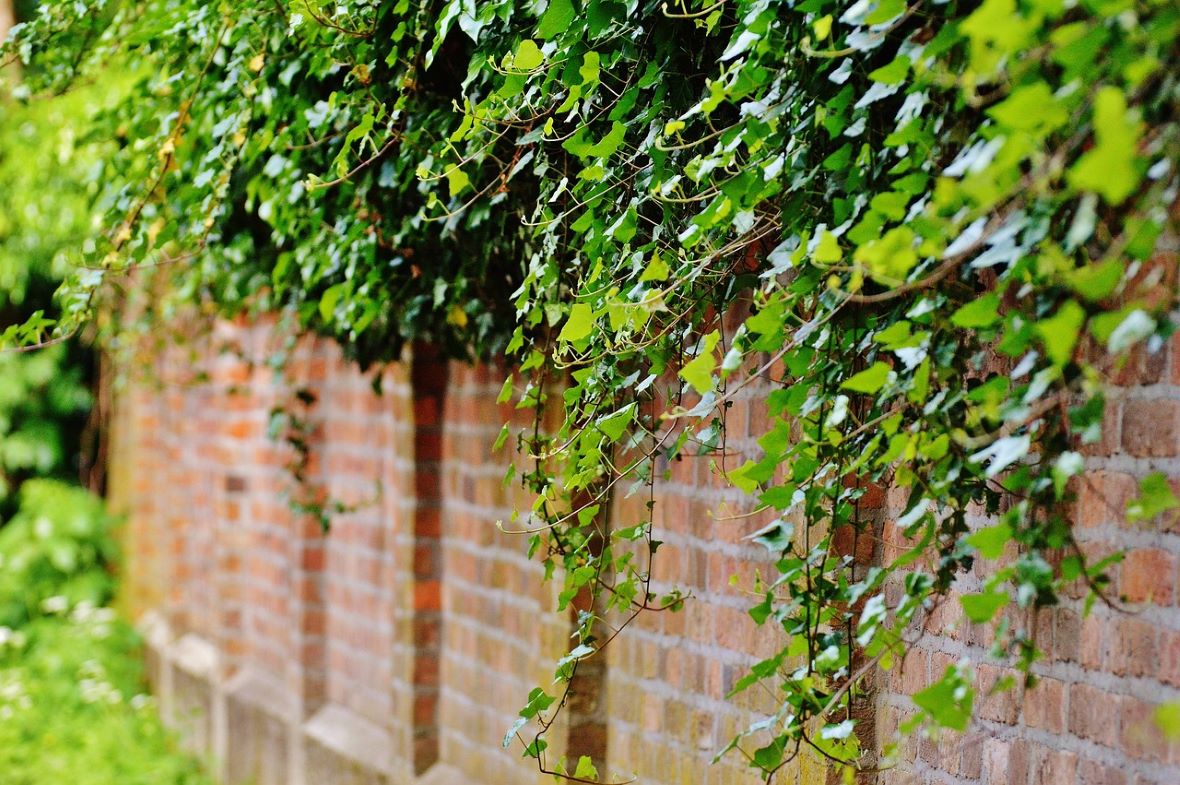
Planting ivy
Where to plant ivy
Ivy will grow in any light conditions from full shade to full sun, but it does best in partial shade. It’s not fussy about soil - any kind is fine as long as it drains well and doesn’t get waterlogged. If your soil is on the heavy or sandy side, you can fix this by mixing in plenty of compost.
Grow your ivy through trees and pergolas, up fences and walls or over a shed or garage. You can even use it as ground cover. Although it does need a structure to climb up, you won’t need to train it as ivy is self-clinging. If you’re planting more than one, space your ivy plants no more than 45-60cm apart to make sure you get good coverage quickly.
Growing ivy in pots
Ivy is a great choice for pots - make sure you choose one that doesn’t grow too large for your space, or you’ll need to prune it regularly. Your ivy will look especially good combined with other perennial plants in a large container if you plant it at the outer edges of the arrangement so it can spill over the sides. You can even keep ivy as a houseplant - I love them trailing from the ceiling in plant hangers.
Caring for your new ivy
Ivy is a very low maintenance plant once it gets going, but there are a few things you can do to get it off to a flying start. Keep the soil moist, watering weekly in the warmer months and fortnightly in winter if it’s dry. Once it’s established, you won’t need to water it except in very hot weather. You can also feed it a nitrogen rich fertiliser monthly or fortnightly to keep your ivy looking its best. You don’t necessarily need to prune ivy, but if you want to keep it in shape, this should be done in spring.
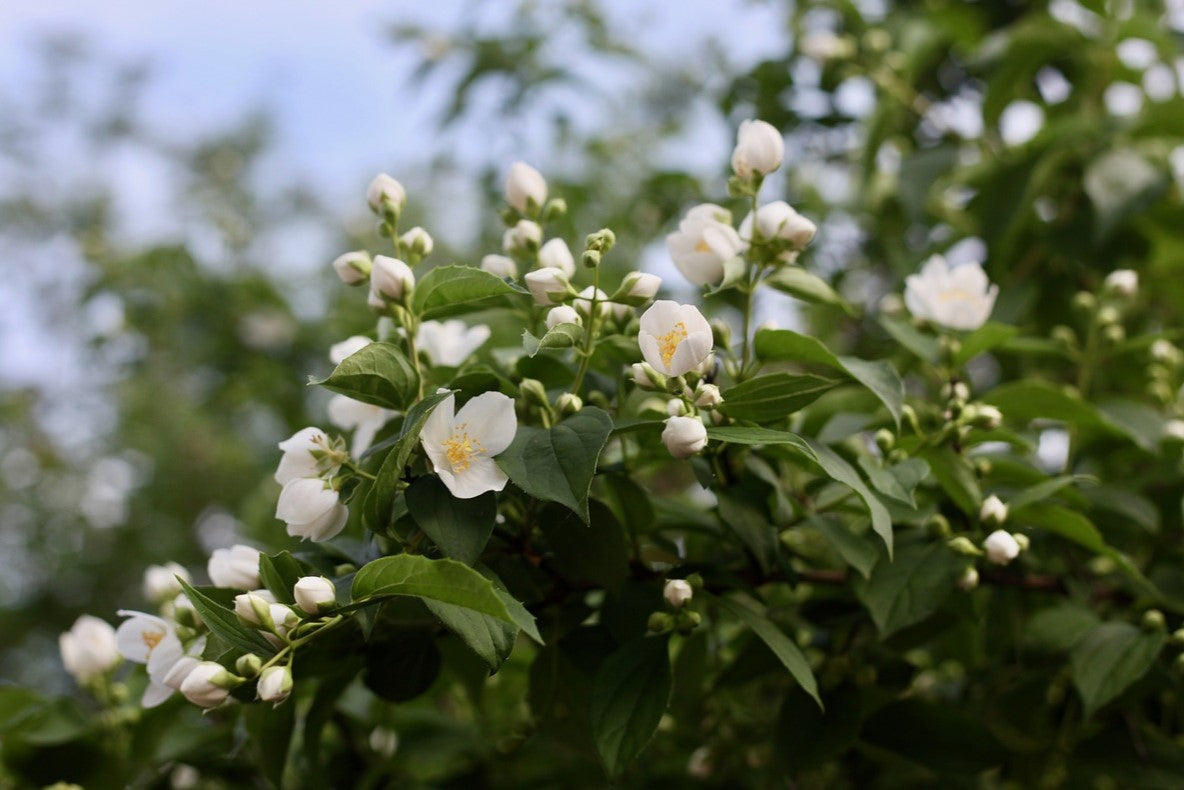
Planting jasmine
Where to plant Jasmine
If you have a summer flowering jasmine, it’ll do best in a sunny sheltered spot - winter flowering varieties can be planted in slightly shadier areas. For both kinds, the soil should be fertile and well drained, and plants should be spaced roughly a metre apart to allow for spreading. As it’s a very fragrant plant, jasmine is a good choice for planting on a pergola or arch, or near seating areas and paths. Jasmine is a self clinging, twining climber so it doesn’t need much training once it’s established. All you need to do is to guide the young plant by tying in its stems until it’s grown enough to do this for itself.
Growing jasmine in pots
Jasmine plants don’t have especially deep roots, so they thrive in pots. Plant them at the base of a pergola or trellis and train them upwards with wires or twine. A freestanding obelisk or trellis placed in the pot also works well and is better if you want to move the pot at any time.
Caring for your new jasmine
Water your jasmine regularly for the first year - after this plants in the ground should be fine with rainwater unless the weather is very hot or dry, but plants in pots should continue to be watered regularly. A monthly feed of high potassium fertiliser (tomato feed is good!) in spring and summer will help your jasmine achieve its full flowering potential, and it should be pruned each year when it’s finished flowering.
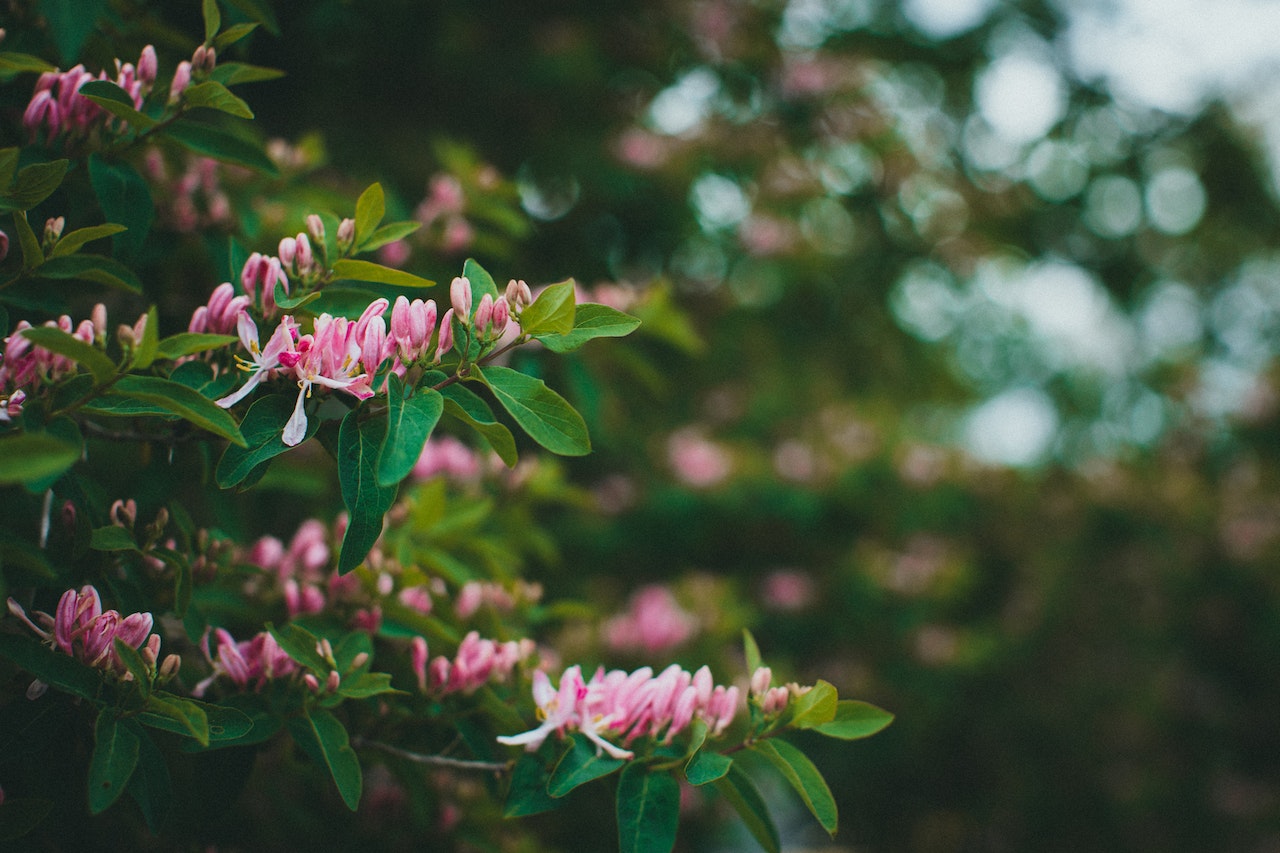
Planting honeysuckle
Where to plant honeysuckle
Honeysuckle is a woodland plant, so they do best in a position with their roots in shade and their stems in the sun - a west facing wall or fence is ideal, as is a position near a bench or path so you can enjoy it as you relax or walk past. Honeysuckle thrives in any well drained soil. Your plant will also need a strong support, such as a large trellis or framework of wires. If you’re planting more than one, space your plants 45cm apart to allow for spreading.
Growing honeysuckle in pots
Honeysuckle plants do well in large pots, as long as you remember to water and feed them more regularly than those in the ground. As they need a sturdy support structure, I’d recommend siting the pot near a pergola, wall trellis or garden arch so that it can be tied in to the structure as it grows.
Caring for your new honeysuckle
After the first year, your honeysuckle will only need regular watering during dry spells (potted plants will need more regular watering) but you’ll need to keep it well watered while it’s still new. A feed of high potassium fertiliser will help the plant to produce more flowers, and can be given once a month during the growing season. You will need to prune your honeysuckle as they’re very vigorous, and this should be done after flowering to keep your plant well shaped.
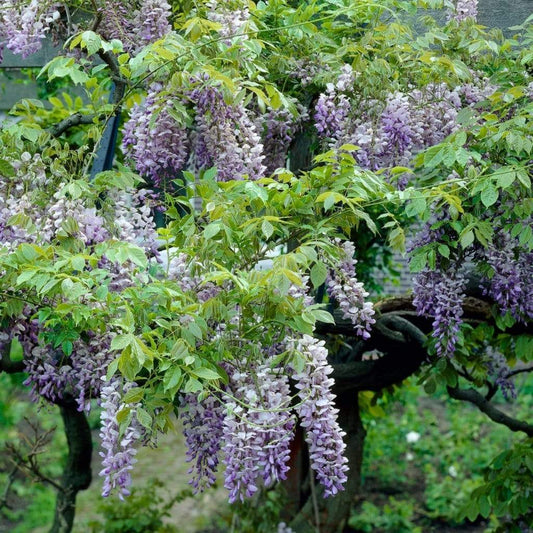
Planting wisteria
Where to plant wisteria
Wisteria plants can reach a height of over 10m and live for decades, so choose somewhere permanent with plenty of space to grow - a south or west facing wall or solid structure is ideal. Wisteria needs a position in full sun or partial shade with fertile, well-drained soil, and if you’re planting more than one they’ll need to be spaced at least 3m apart. You will need to tie the wisteria vines into your wall or structure with wires or plant ties as the vines grow. Plant your wisteria near seating areas, windows, doors or patios to fully appreciate the incredible fragrance of the flowers.
Growing wisteria in pots
Full disclosure? I wouldn’t, as they’re never as successful as those planted in the ground. However if you really want to grow a wisteria in a pot, you’ll need to grow it as a standard tree and choose a variety which is bred for that purpose. Choose the largest container you can find and fill with a good tree and shrub compost. Water pot-grown plants well and feed them in spring.
Caring for your new wisteria
Keep your wisteria well watered throughout the first year after planting, and tie in any emerging stems to the supports as needed. With wisteria it’s all about the flowers, so to encourage more, feed your plant every spring with a high potassium fertiliser and prune twice a year in August and February. For more detailed advice on how to grow Wisteria, check out our growers’ guide.

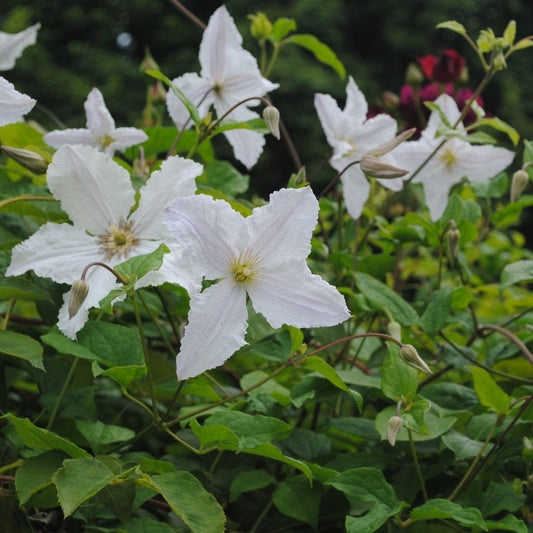
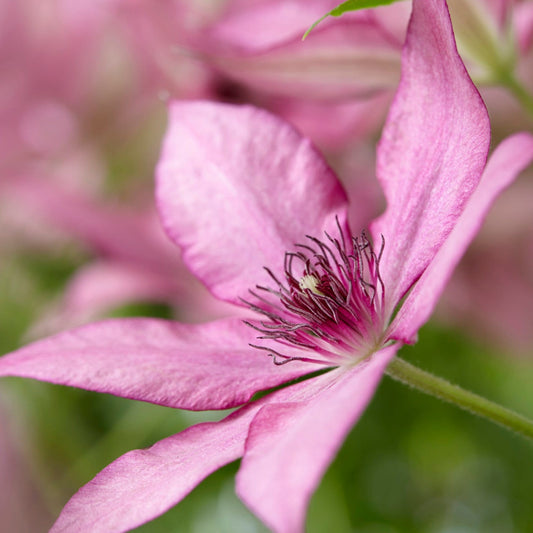
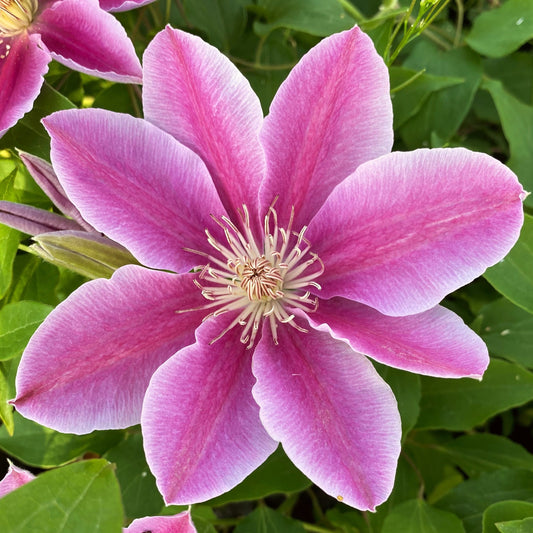
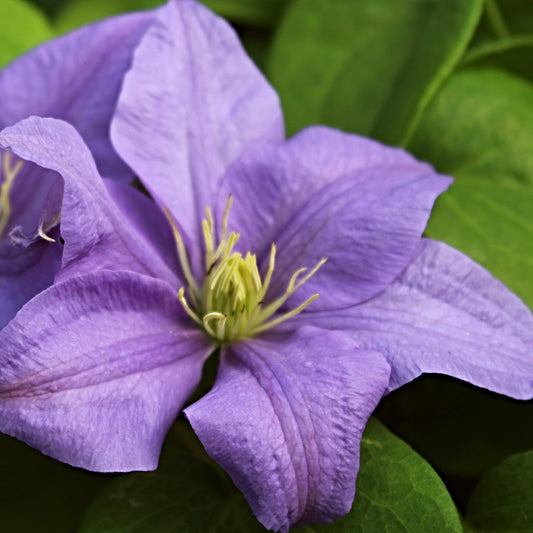
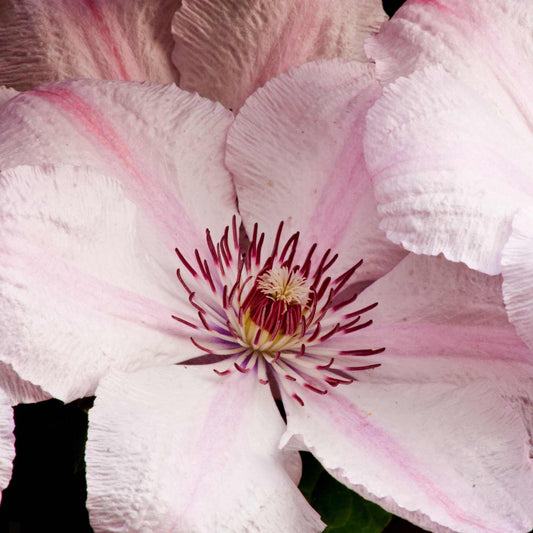
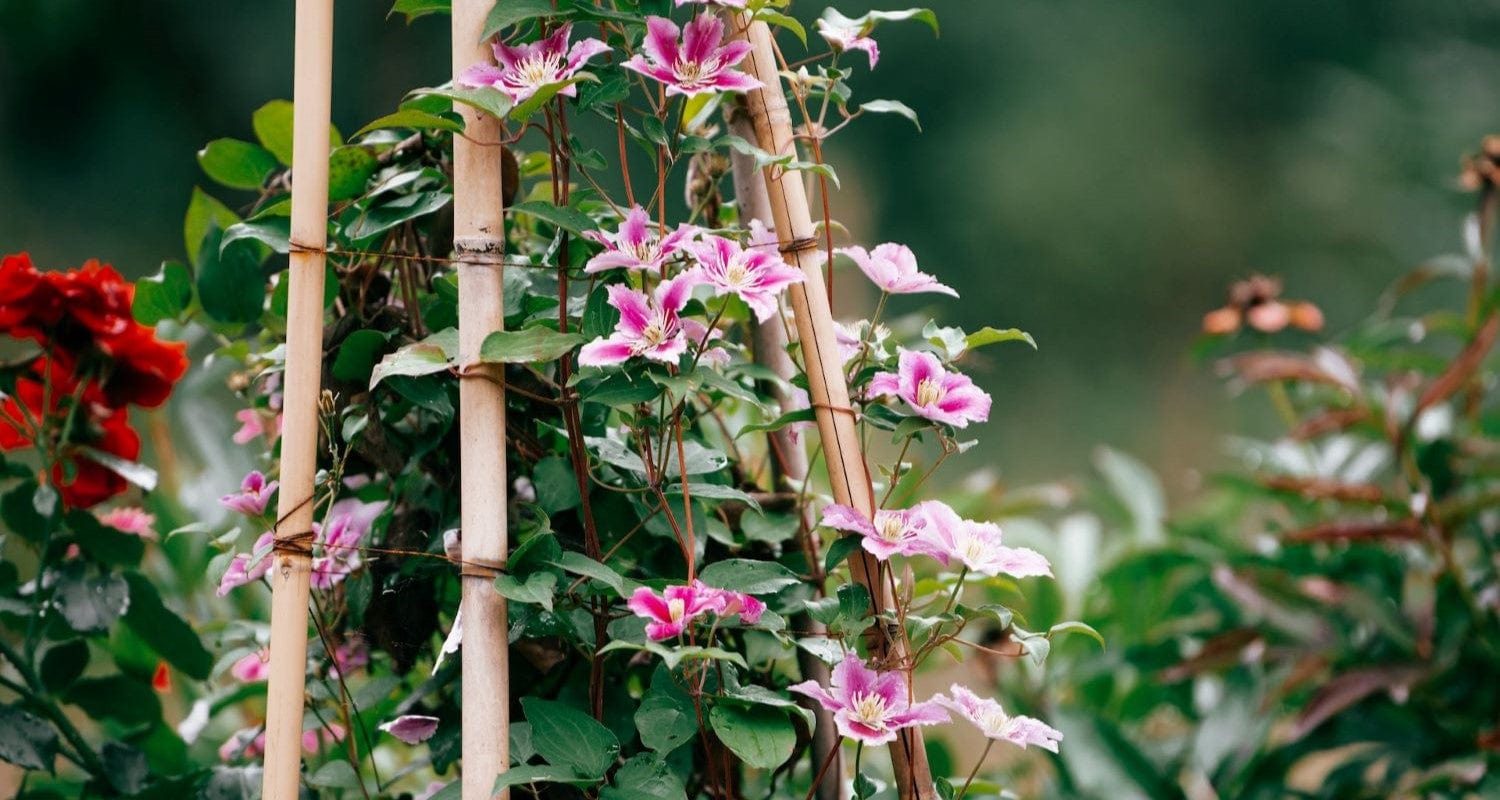
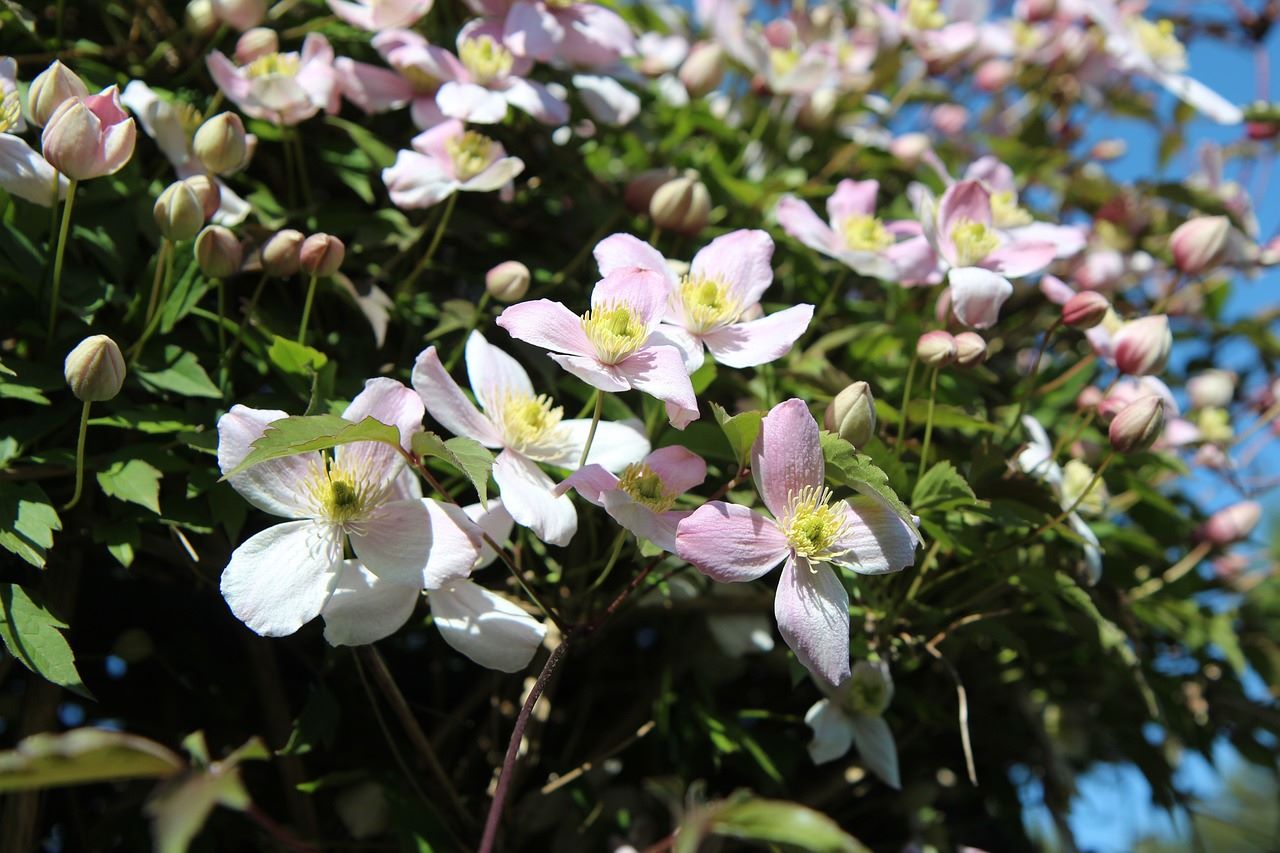
Planting clematis
Where to plant clematis
Plant your clematis in fertile, moisture-retaining soil and dig in plenty of compost or manure. All clematis plants will thrive when supported or trained up a fence, wall, trellis or obelisk. Most prefer full sun, but some can be grown in partial shade - check the plant info page for your chosen clematis to be sure.
If you’re planting more than one clematis, space them approximately 60cm apart, unless you want them to twine together, in which case they can be planted in the same hole.
Growing clematis in pots
Clematis are a great choice for planting in pots and growing up a trellis or obelisk. Before buying yours, check that it’s suitable for growing in pots, as some varieties are too vigorous. Choose a tall, deep pot in a material which will not allow the roots to overheat - frostproof terracotta is ideal. Clematis in pots will need regular watering throughout their lives and will benefit from a mulch of bark chips around the base of the plant.
Caring for your new clematis
Water your plant regularly for the first year or so and after that, during hot or dry weather. To boost your clematis’ flower production, you can feed it with a general purpose slow release fertiliser. Clematis have three different pruning groups so it is important to check which one applies to yours. For more information about pruning groups, read our simple guide.
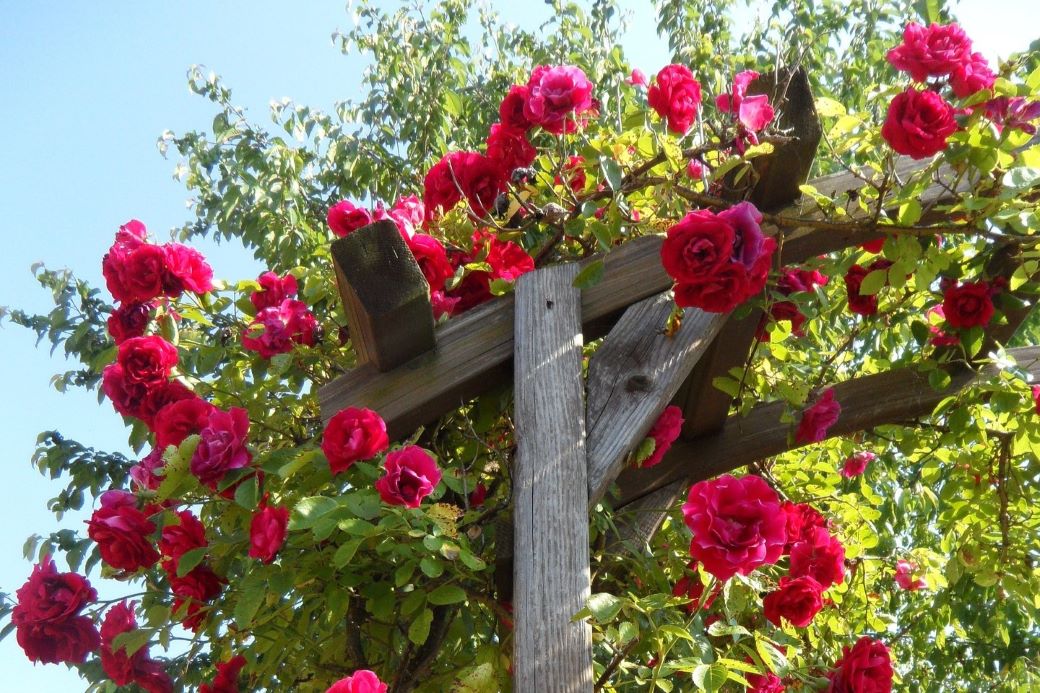
Planting climbing roses
Where to plant climbing roses
Climbing roses vary enormously in height, growing to between 1.5 and 6m - the larger varieties are perfect for growing on walls, arches, pergolas and doorways. If you're growing several climbing roses together (which is a great idea by the way!), space them 120-180cm apart, depending on how densely you want them to cover your structure and how much you want them to twine together. Climbing roses flower best in well drained fertile soil and full sun, but they can cope with a little shade in the afternoons.
Growing climbing roses in pots
Many climbing roses can be grown in pots, making them ideal for patios and smaller gardens - look for a variety with ‘compact’ or ‘courtyard’ in the name. These are a great choice for quickly covering a wall or structure, while being less vigorous and lower maintenance. Choose a large pot at least 30-45cm deep and wide to plant your rose, and place it next to a wall trellis or arch or place an obelisk or trellis in the pot.
Caring for your new climbing rose
Water your new climbing rose regularly until it becomes established (plants in pots will need regular watering throughout their lives) and after that, only during dry spells. They need training when young by using supports and benefit from regular pruning - this should be done while the plant is dormant between late winter and early spring. The exception is rambling roses, which should be pruned straight after flowering. Feed them with a sprinkle of rose food or tomato feed twice a year - once in spring before the new growth starts and again in July and deadhead your roses regularly for repeat flowering throughout the summer.
Last updated: 23/11/2023