Planting Apple Trees: The Complete Guide
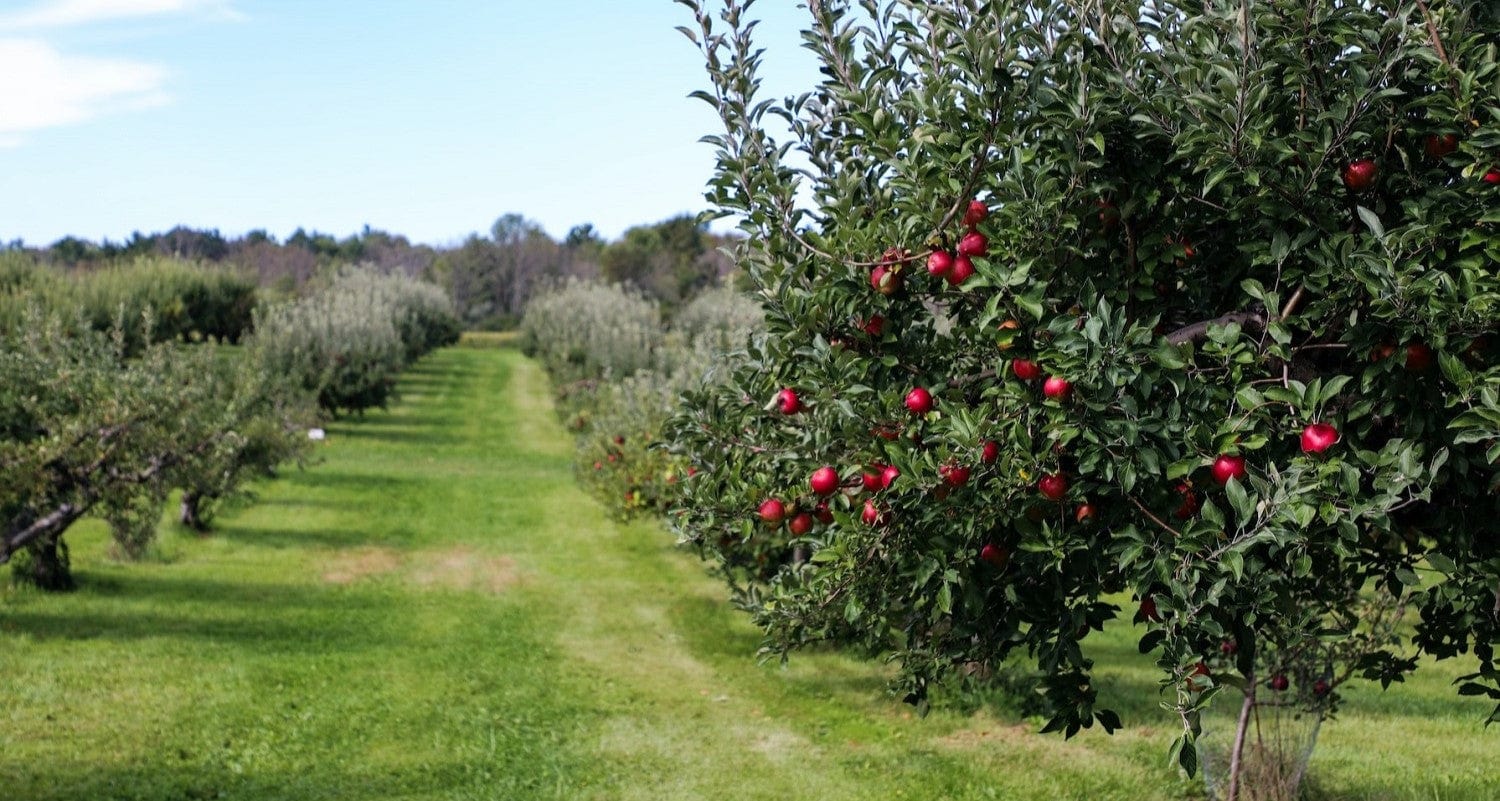
If you’ve just ordered your shiny new apple tree, congratulations! You’re going to love it. When your tree arrives, you’ll want to give it the best possible start in life, so we put together this handy guide to planting apple trees. We’ll also answer some of your most frequently asked apple tree questions.
Jump to:
How do you plant an apple tree?
What kind of apple tree have you got?
There are two different ways that you can buy apple trees - bare root and potted. The main difference between these two is that bare roots are only available during the dormant season (November-March) when the tree isn’t actively growing. They’ll be sent to you without a pot or compost. Potted trees are available all year round and will arrive in a pot.
Both kinds of trees are planted the same way - the only difference between them is that you’ll need to soak a bare root tree for an hour in a bucket of water before you plant it. Bare root trees should be planted as soon as possible after they arrive.
Ready to plant your tree? Here’s how.
Or, alternatively, you can read our complete tree planting guide.
How do you plant apple trees in pots?
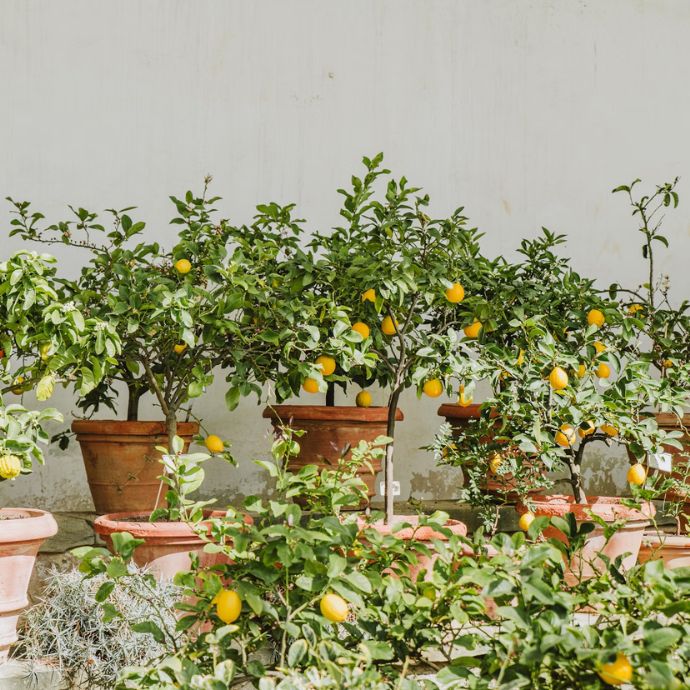
Dwarf apple tree varieties can be planted in pots - perfect if you don’t have much space, your place is rented or you want to grow your tree on the patio. Here’s how:
What you’ll need:
- A large pot with holes in the base - this should be at least 45cm in diameter at the top, ideally 60cm - or 40-60 litres in capacity
- A bag of multi purpose compost
- Horticultural grit or perlite
- A stake and tree tie or tree planting kit
- A trowel
- General purpose granular plant food
- Mulch - wood chips are ideal
- Water

1. Fill your pot
For a bare root tree, soak it in a bucket of water for an hour before planting. Then add some plant food and grit to the bottom of the pot, half fill it with compost and position the tree on top of it. Check that the soil mark on the trunk is about 5cm below the rim of the pot. Spread out the roots if they are bunched together and then fill with more compost to the soil mark on the trunk and firm it down.
For potted trees, loosen and remove some of the soil around the edges of the roots. Add some plant food and grit to the base of the pot and position the tree on top of it. The top of the soil around the tree should be about 5cm below the top of the pot - fill in the pot around your tree with compost to this level and firm it down.
2. Stake your tree
Push the stake into the soil so that it’s about 8cm away from the edge of the tree’s trunk. Then gently work it down into the bottom of the container and tie it to the trunk (this will be at around a 45 degree angle) with a tree tie. Make sure it’s not too tight so that the tree has room to grow and move slightly. Firm down the soil around the stake.
3. Water your tree
Give your newly-planted tree a good watering in to settle the compost down and help the tree’s roots establish. Remember that apple trees in pots will need more regular watering and feeding than those in the ground (especially in summer). Check the soil regularly to make sure it doesn’t dry out, even when it’s been raining, as rainwater doesn’t always get into pots.
4. Mulch
Adding a layer of mulch to the top of your pots will help them retain moisture and keep down weeds. Wood chips are good, but you can also use leaf mould, pine needles, grass clippings, straw mulch, horse manure or even gravel.
5. Repot (when needed)
If you have a dwarf variety, your apple tree may not need to be repotted. However you should check it every two years and transplant your tree into a bigger pot if needed. How will you know? These are the signs:
- The soil dries out quicker than usual
- Roots are poking out through the drainage holes in the pot
- Tree or plant looks too big for the pot
- Tree looks miserable and/or ridiculous
If your tree does need repotting, choose a pot at least 25% larger than the previous one and use fresh compost.
Apple tree frequently asked questions (FAQs)
When should you plant apple trees?
Bare root apple trees can be planted between November and March, when they’re in their dormant phase. Planting in winter means that your new tree will need less work (and certainly less watering) as it develops its root system underground. Potted apple trees can be planted all year round. Avoid very wet or frosty days.
What’s the best place to plant an apple tree?
Apple trees should be planted in full sun to partial shade, in a sheltered spot out of the way of strong winds. They’ll crop best if they get more sun, but will do just fine with a little shade, especially in the afternoons.
Other things to bear in mind are accessibility (will you be able to get to the branches easily to pick the fruit?) and obstruction - you should plant away from house walls or boundaries and avoid areas which already have large trees or shrubs which could compete with your new tree for nutrients and light.
What’s the best soil pH for apple trees?
Apple trees are generally very unfussy about soil conditions, including clay. However most varieties don’t appreciate waterlogged or light sandy soil (If you do have sandy soil, try 'James Grieve' or 'Fiesta', as they seem to cope with it best).
If you do have very heavy or sandy soil, you can improve it by mixing in plenty of compost and a little perlite or horticultural grit with the planting soil.
How far apart should you plant apple trees?
Generally speaking an apple tree needs a distance of about one to one and a half times its maximum spread from other plants. This is to avoid the spread of pests and diseases and also to allow your tree to develop a good natural form. If you know what rootstock your tree is on, you can space more accurately, using these recommended distances.
- M27 rootstock - allow at least 3m
- M9 rootstock - allow at least 3.6m
- M26 rootstock - allow at least 4.5m
- MM106 rootstock - allow at least 6m
Measure these distances between the tree trunks as you plant, not the trees’ eventual spread.
Can you grow an apple tree indoors?
It’s a qualified yes from us - a full grown apple tree can reach four metres in height, so if you’re going to try growing it indoors, for the love of all that’s juicy, pick a dwarf one. The other thing to be aware of is that pollination will be much more difficult so you might not get much fruit. If you’re ok with this, there’s no reason not to grow indoors - your tree will still look beautiful! Plant your indoor tree in a large pot with good drainage, and keep it well watered.
How do you grow an apple tree from seed?
If you have plenty of patience, growing an apple tree from seed is a really cool project. One thing to bear in mind is that the tree you grow won’t be the same as the apple you take the seed from, as apple seeds have a lot of genetic variations - this is why trees you can buy are grafted rather than grown from seed. If that sounds more exciting than disappointing to you, here’s how to do it:
- Carefully remove the seeds from your apple, clean them and put each one into a small pot of potting compost.
- Cover the pots with plastic bags to keep the moisture in and put them in an unheated building or fridge. Sounds weird, but what you’re doing here is replicating the winter conditions they’d normally experience in the wild. Leave them here for a couple of months.
- Move your pots into a warm, sunny location and keep the soil moist. After a few weeks, you should see the seedlings emerge. When they’re big enough to handle (and after all frosts have passed) transplant them into the ground. Keep them well watered and fertilised. Plant at least two if possible, so they can pollinate each other.
- Watch and wait. It can take up to a decade for your tiny trees to produce fruit, but that’s plenty of time to build up anticipation as to what you’ll get!
Can you grow an apple tree from a branch?
Absolutely! As with growing from seed, be aware that you probably won’t get the same kind of apple as the tree your cutting came from, but that can be fun. Here’s how to grow:
- Cut a piece about 20cm long from the end of a branch with sharp pruning shears when your tree is dormant in winter or early spring.
- Mix one part sand and one part compost (or use potting mix). Add some perlite to the bottom of a pot and add your mixture.
- Cut off the buds and leaves from the lower half of your cutting. Pour some Rootgrow into a saucer and dip the cut end in it.
- Plant your cutting in the pot and press the potting mixture firmly around it so it stands up on its own. Spray the cutting and potting mix with water from a spray bottle then create a mini greenhouse for it by securing a plastic bag over the pot or using a plastic bottle cut in half.
- Put the pot in a warm place out of direct sunlight. Keep checking your cutting and if needed, remove the cover and water again. You should see roots and leaves after a few weeks.
- Gently transplant your tiny tree to its permanent home in late winter or early spring.
Got apple tree questions?
Remember our experts are always on hand to help you get the best from your trees. If you have any more questions, contact us at support@rootsplants.co.uk.
Last updated: 29/10/2025
