
Related articles


Growing Potatoes: The Complete Guide
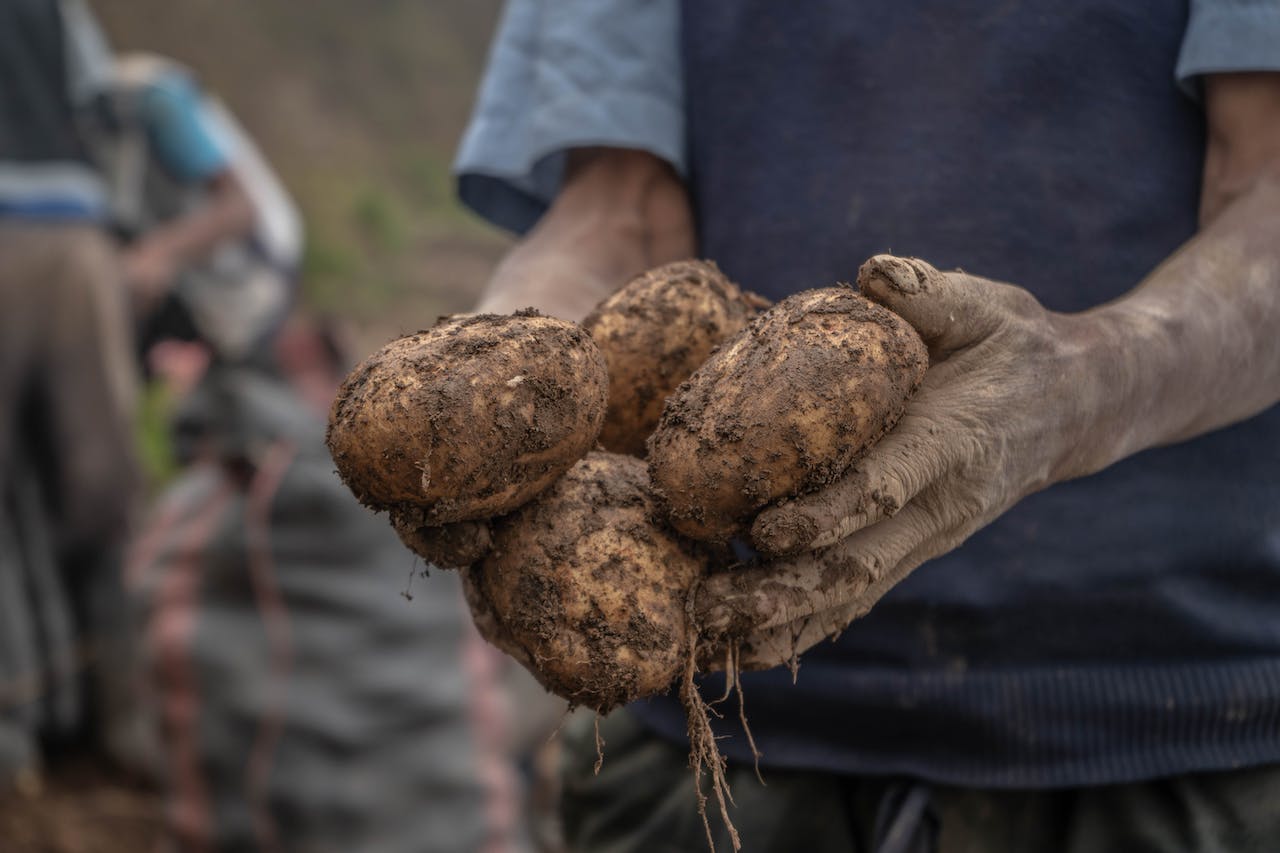
Potatoes are one of the easiest vegetable crops to grow, and you don’t even need a garden since they can be grown successfully in pots, sacks or even a dustbin! Homegrown potatoes taste a world away from any you can buy, and you’ll get a good harvest from just a few plants.
I asked our growers how it’s done - as always, they were full of great advice, so here it is: the complete guide to growing potatoes at home.
Jump to:
- What you’ll need
- Which potatoes?
- Chitting potatoes
- When to plant
- Where to plant
- How to plant
- Growing potatoes in bags
- Watering and feeding
- Earthing up
- Harvesting
- Storing potatoes
- Treating problems
What you’ll need
- Seed potatoes
- Old egg boxes or seed trays
- A raised bed, large pot or sack
- Compost (if planting in pots or sacks)
- High potash fertiliser/well rotted manure
- Fork, spade and trowel
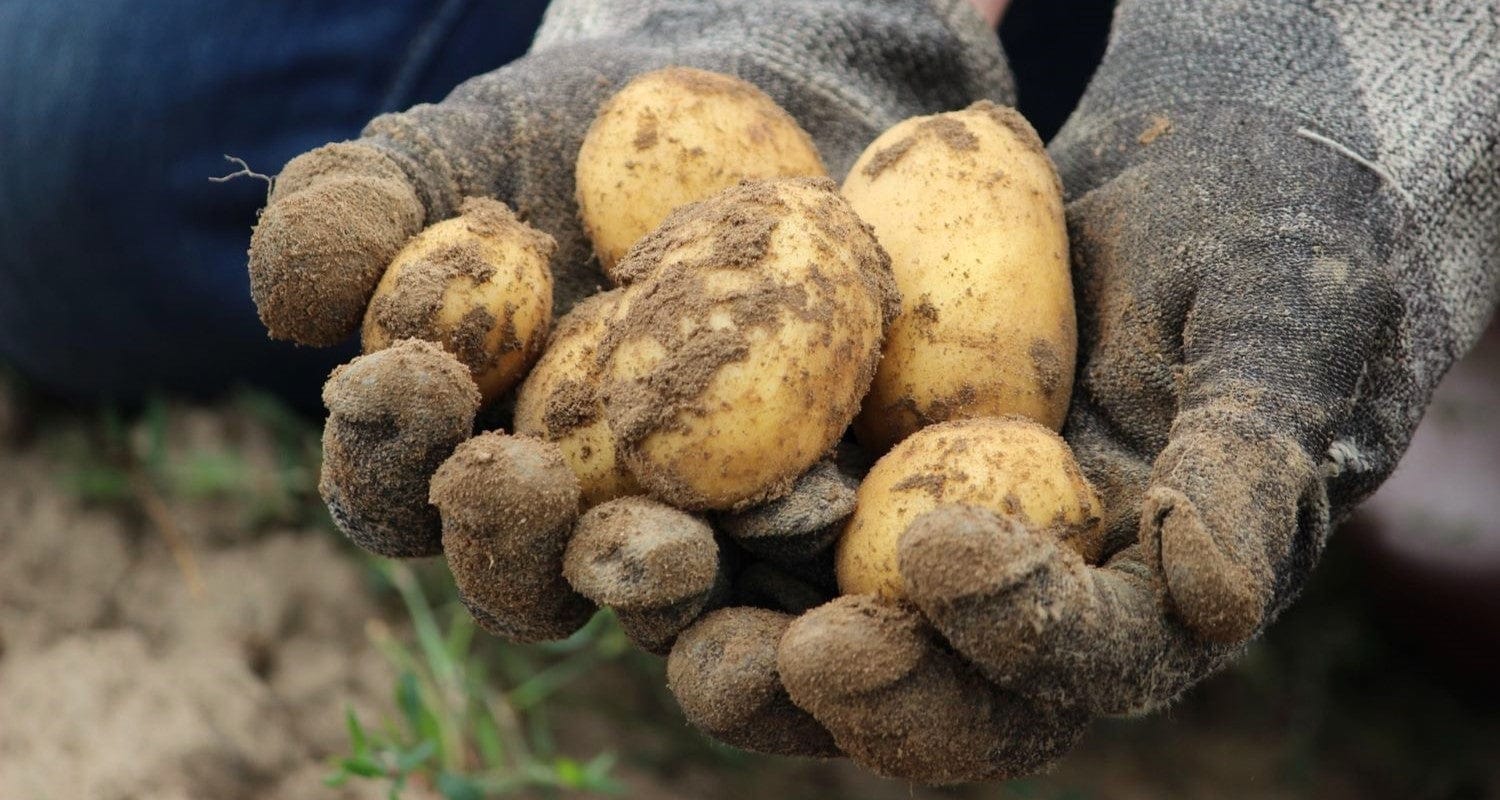
Can you use any old potatoes?
Potatoes grow from other potatoes, so you’d think so, and granted they have skin in the game, but the growers advise against using those shrivelled up sprouting potatoes from the bottom of your veg drawer. The seed potatoes you buy from Roots are grown specially for planting and are certified virus free. There’s also the risk with supermarket spuds that they’ve been treated with pesticides, which can affect your new crop.
You should aim to buy your seed potatoes early in the year, so you can chit them and plant them in January or February for a spring or summer crop. It’s best to order your seed potatoes as soon as they become available, as they’re very popular and if you wait, you can miss out on the best varieties.
What is chitting?
When your seed potatoes arrive, you can give them a head start by letting them sprout (develop shoots) - this is what we call chitting and here’s how to do it.
- Find a cool, frost-free place with plenty of light - a windowsill is ideal.
- Place your seed potatoes in old egg boxes or seed trays with the end that has most eyes or buds upwards.
- Wait for it… your potatoes are ready to plant when the shoots are about 2.5cm long.
Be careful when you transfer the potatoes to your garden or pots - the shoots are fragile and can easily break off.
Do you have to chit your potatoes? Not at all - they will still develop sprouts underground, it will just take a little longer than if you’d started them off indoors.

Image source: Flickr.
When to plant potatoes
The right time to plant your potatoes depends on what type they are. You'll see on our potato collection page that each variety is classed as first early, second early or maincrop, and each has a different planting time. If it’s still frosty in your local area, you can protect the new plants with cloches until the weather improves.
First earlies
These should be planted in March - traditionally they were planted on St Patrick’s Day in Ireland (March 17th). First early varieties tend to be used as new or salad potatoes and include Rocket, Pentland Javelin and Swift.
Second earlies
Plant these in the first two weeks of April. Second early potatoes like Charlotte, Kestrel and Maris Peer are bigger than first earlies and smaller than maincrop varieties.
Maincrop
Maincrop potatoes should be planted in the second half of April. They’re large potatoes which are good for storing and eating through the winter, and include varieties like Cara, Pink Fir Apple and Rooster.
If you’re growing for a Christmas harvest, you’ll need to buy your seed potatoes in summer and plant in August or early September. Some of the best varieties for a winter crop are first and second earlies such as Charlotte, Maris Peer and Red Duke of York. You don’t need to chit these as the soil will be warm enough for shoots to develop quickly.
The best place to plant potatoes
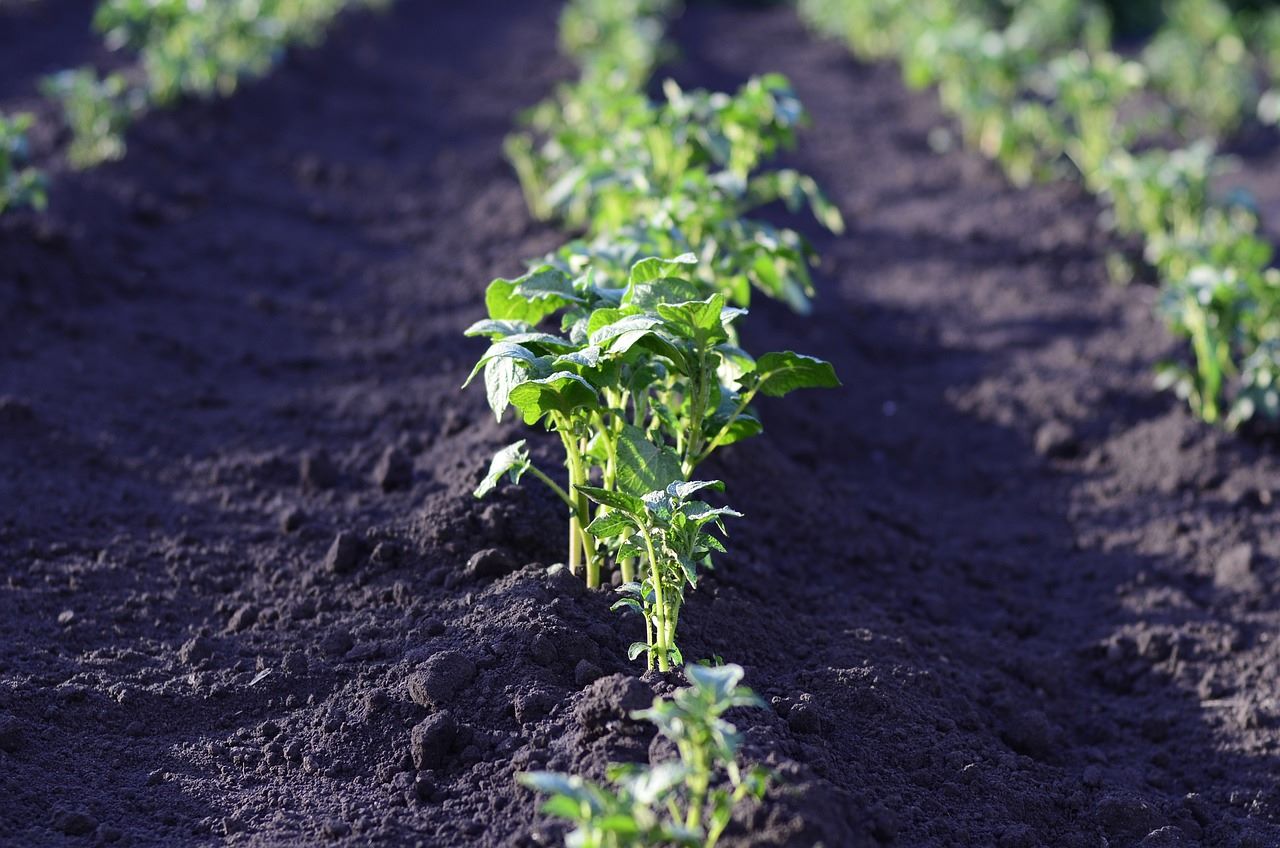
Potatoes need a sunny growing position which won’t get the worst of the frost. They’ll grow anywhere, but do prefer acidic soil, so mixing in plenty of well rotted manure and compost will give you the best crop. If you’re able to plan ahead, grow them in a bed where peas and beans were grown the previous year - all the nitrogen that the bean and pea roots have put into the soil is great for potatoes. Use your garden fork (or a hand rotavator) to turn the soil - potatoes like it loose and airy.
If you’re growing any other vegetables in the same bed, avoid brassicas - their nutrient needs are very different and neither will grow well together.
How to plant potatoes
- Once you’ve chosen your perfect position, dig a trench about 12-15cm deep.
- Gently push the seed potatoes into the soil with their shoots pointing upwards.
- Fill the trench with compost. It’s a good idea to add well rotted manure at this stage too, as it helps to keep the soil moist as well as adding nutrients.
- Leave 15cm space between maincrop potatoes and 30cm between earlies. If you’re making more than one row, leave 60-70cm between the rows.
Growing potatoes in bags and pots
To grow potatoes in containers:
- Fill the pot or sack with compost to a level of 10cm.
- Plant your chitted potatoes with their shoots pointing upwards. About five small potatoes or three large ones is a good number for a sack, but all potatoes are different sizes and as long as they’re well spaced you can use your judgement.
- Cover your potatoes with another 10cm of compost and start earthing up (see below) when the shoots are about 5cm above the soil.
Watering and feeding potatoes
Potatoes need regular watering throughout the growing season but be careful not to overdo it as waterlogged soil can be a cause of mould and rot - aim for moist, not wet soil, and avoid letting it dry out completely.
For a nutrient boost which will improve your crop, feed the plants with potato fertiliser or any high potash plant food. This should be applied every two to three weeks from mid-May to the end of June, then every two weeks after that. Make sure you avoid fertilisers high in nitrogen, as they can delay the maturing of your crop.
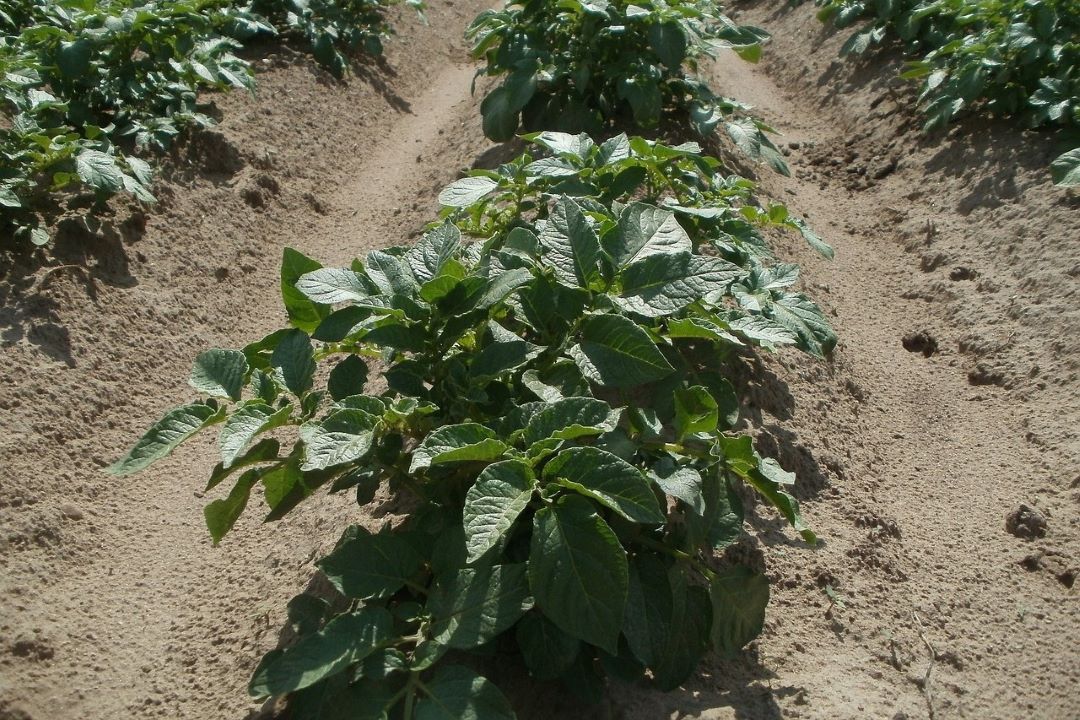
What is earthing up?
Earthing up is a simple technique used to get a bigger potato crop, and as an added bonus it keeps the weeds down too. It works by covering up the stems where the potatoes form as they emerge, encouraging them to grow longer. Longer stems = more spuds!
For potatoes planted in the ground, start earthing up when about 10cm of leafy stem is peeping above the surface. Using a garden fork, take some of the soil from between the rows and pile it up into a mound around the plant’s stems. If there isn’t enough soil in the bed to do this, you can use more compost. Repeat this every 2-3 weeks.
If you’re growing in bags or pots, add a 5cm layer of compost each time and stop when the container is nearly full.
When to harvest potatoes
Your harvest time will depend on what kind of potato you planted and when you planted them. As a general rule, first earlies are harvested from June to July, second earlies from July to August and maincrops from August to October.
To harvest earlies, wait until the flower buds drop, then dig them up when they’re about the size of a hen’s egg.
For maincrops, wait until the leaves turn yellow, then cut them down. Ten days later your potatoes should be ready, but be sure to leave them to dry (see below) before storing them.
To harvest your potatoes, dig up the whole plant (go carefully - you don’t want to slice through any with the spade) and gently tease the potatoes away from the roots - some will just fall off, so keep a basket or bucket handy!
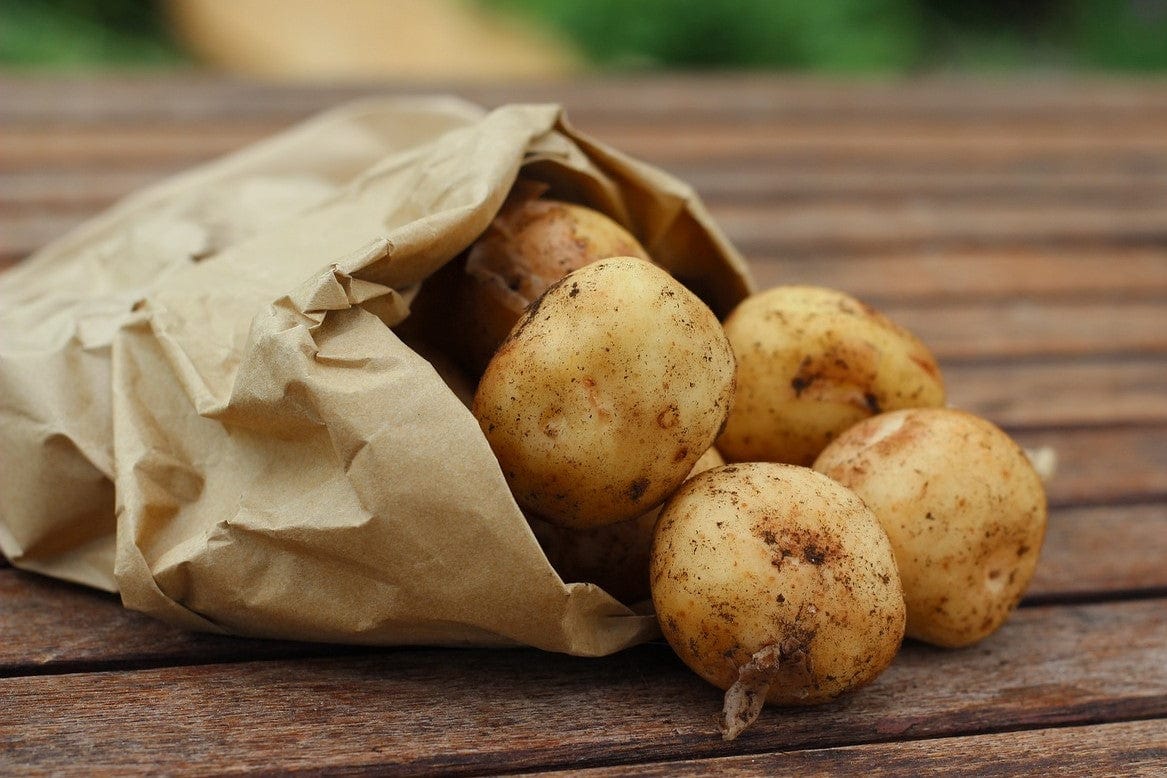
How to store your potatoes
First and second earlies are best eaten soon after harvesting, but maincrop potatoes can be stored for months in the right conditions. Here’s how:
If you’re not sure which potatoes are good to store, give the skin a rub with your finger. If the skin rubs off easily, you should use these potatoes fresh. If it doesn’t, the potatoes will be fine in storage.
Leave your potatoes in a dry place for a few days. This ‘cures’ them as well as letting the soil dry out so it can be brushed off easily.
Choose a storage place that’s dark, cool and dry with good ventilation (not the fridge as they’ll only last a couple of weeks there). You can use a paper bag or traditional hessian sack (not plastic) to keep them in, which will keep them dry and prevent rotting.
Treating potato problems
You won’t usually have any problems with your potatoes, but occasionally something goes wrong - knowledge is power, so here’s the low down on some of the possible issues and what you can do about them.
Slugs and snails
The gardener’s mortal enemy: ye shall know them by their slimy trails. Slugs can eat potato leaves and even the potatoes themselves, so if you spot them, make a barrier around your plants with copper wire, crushed eggshells or fine gravel, which they can’t easily cross. You can also remove them by hand or with a trowel and relocate them if you see any.
Potato rot
We’ve all had that hideous rotten potato in the bag. If you have a very wet growing season, this can be a problem, but it can be avoided by only using certified virus free potatoes, harvesting when the soil is just moist, not waterlogged, and storing your potatoes carefully as rot can strike at any stage.
Potato blight
Blight is a fungal disease that can strike in warm, wet summers. It starts as dark blotches on the leaves, which spread, causing the foliage and stems to shrivel and rot. The potatoes turn red-brown before a white, evil-smelling ooze covers them and it’s game over.
If you do spot blight, cut the foliage right down to the ground and leave the potatoes for three weeks. This should stop the infection travelling downwards to the crop, but unfortunately also stops the potatoes getting any bigger. Dispose of any infected plants in your black bin, not your compost heap.
You can avoid the risk of blight by growing earlies (which are harvested in early summer) or blight resistant maincrops such as Sarpo, Cara and Jazzy. Earthing up and keeping your potatoes properly spaced also helps.
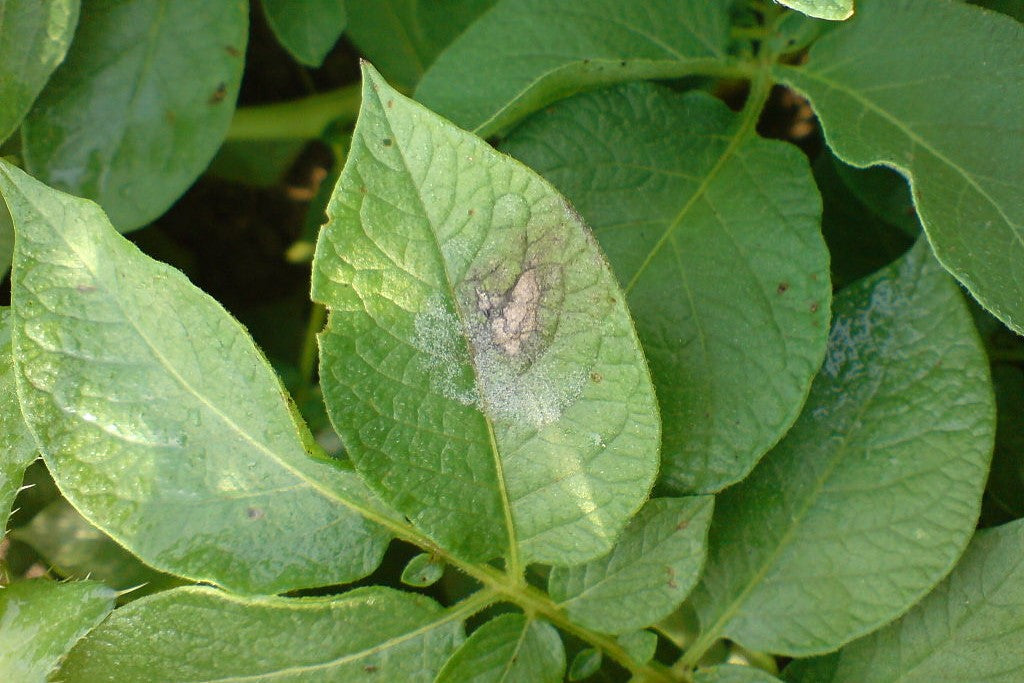
Image source: Wikimedia.
Potato scab
You might have seen this on potatoes you’ve bought - although the scabby patches on the skins look unpleasant, they’re harmless and can be removed with peeling.
Scab tends to be worse in dry weather, so you can prevent it by keeping your plants well watered.
Potato blackleg
This is a disease that can affect the growth of your plants and make the potatoes rot. If your plant is infected you’ll see the stems turning yellow and the plants growing pathetically.
You can avoid blackleg by choosing resistant potato varieties like Charlotte or Pixie. If your plants are affected, destroy them and don’t grow potatoes in that spot for at least five years.
Last updated: 13/12/2023


